Deployment

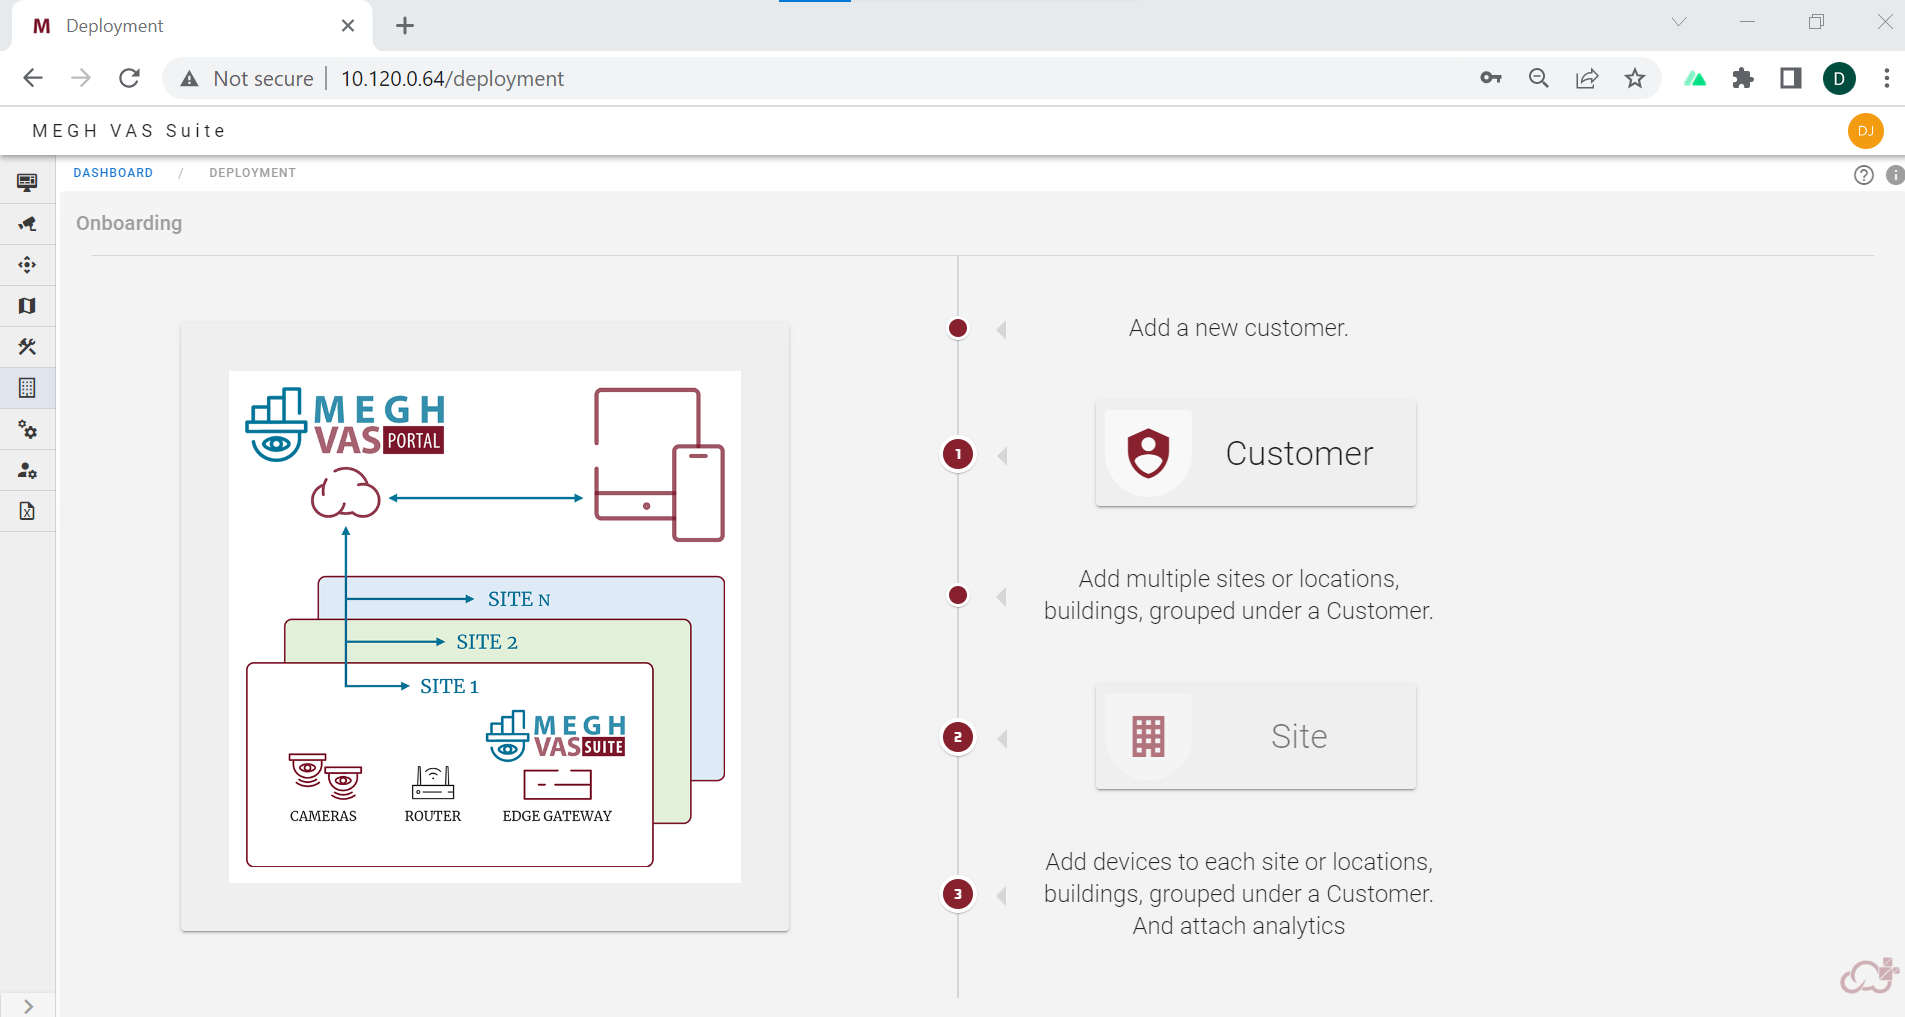
The first time users are landed directly to the deployment page after the successful login.
The first step in the onboarding process is to onboard customers for user's organization.
1. Onboard Customer
The user can click on onboard customer and create a customer.

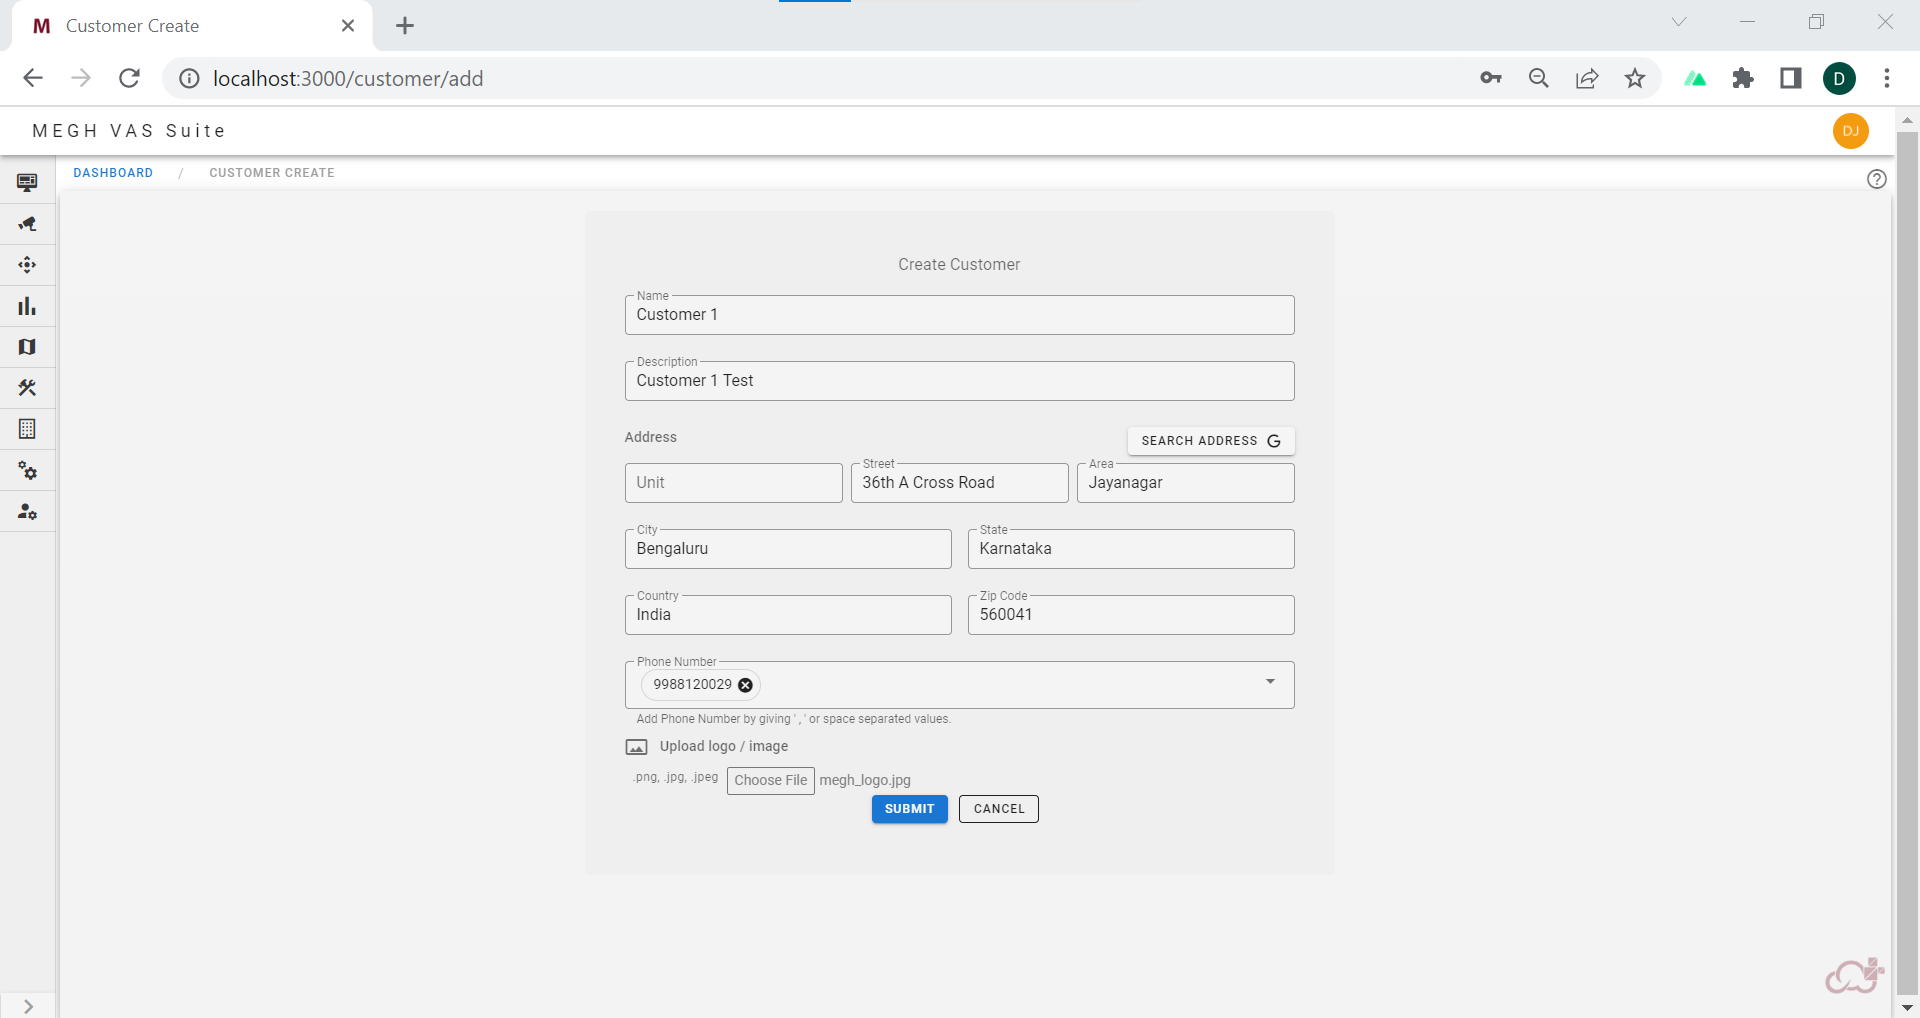
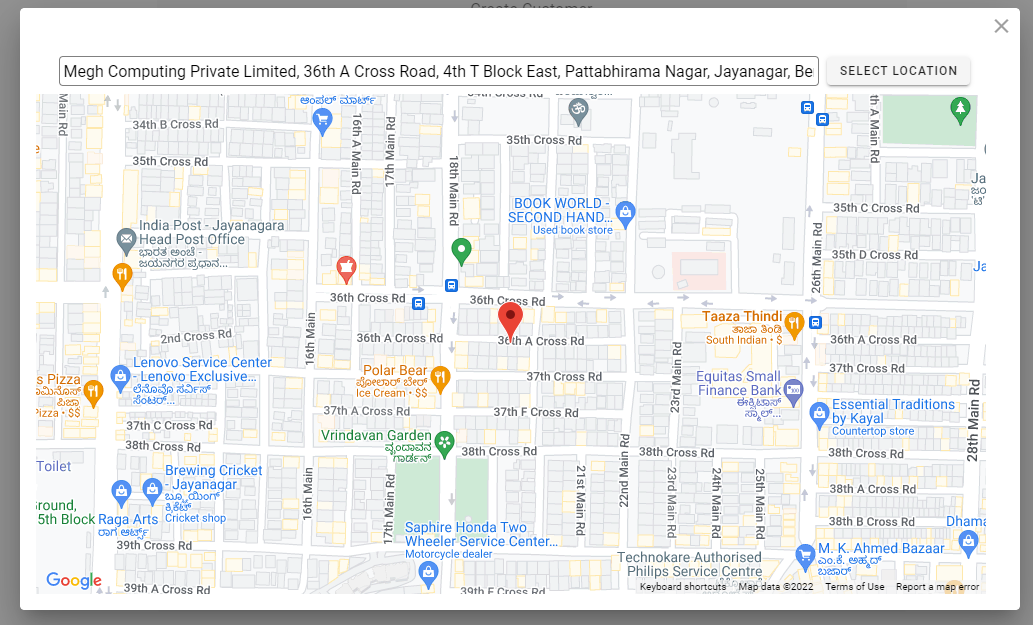
The user must provide the name of the customer with description, customer address can be typed in or user can click on search address button to select the address from the map as shown in below image.

By clicking on select location, the address details will autofill in the customer create form.
The user can fill in the phone number and upload the customer logo image if required and click submit to create a customer.

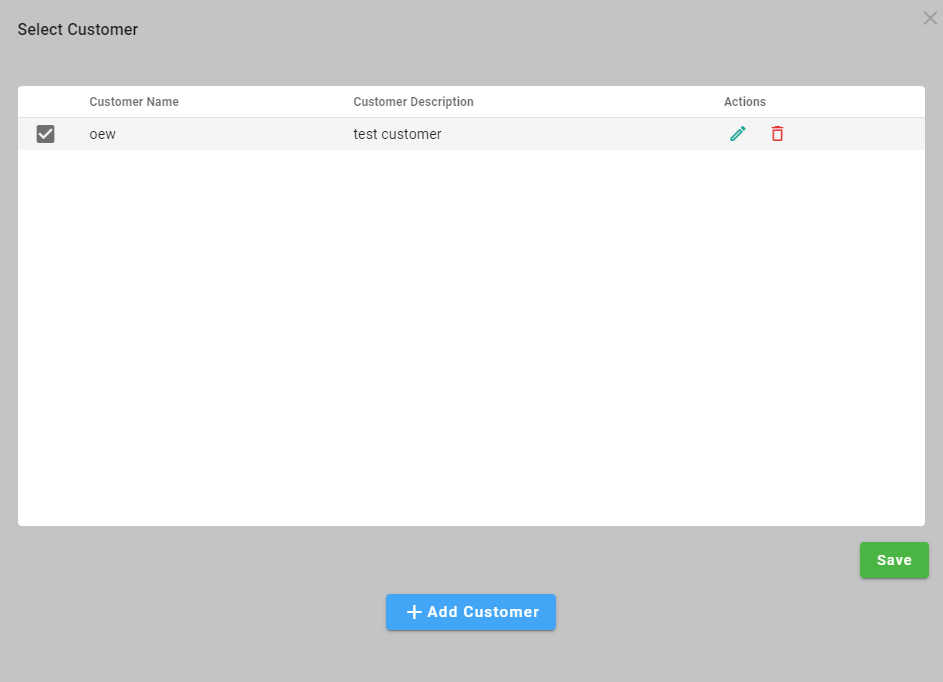
Then the user must check the box of the customer created in select customer popup and click on save. The user can perform two actions on the created customers i.e customer edit and customer delete. The user can click on pencil icon on the right to edit the customer details. The user can click on bin icon on the right to delete the selected customer.
The next step in the onboarding process is to add site for the created customers.
2. Add Site
Next step is to add sites of the customer. The user can click on the site button in the deployment page to create a new site for the selected customer. Click on the below link to know how to add site.
Add device
Once the site is created the user can add the device in the specified site. Click on the below link to know how to add device.
Add analytics
Once the device is created the user can add the analytics for that device. Click on the below link to know how to add analytics.