Deployment
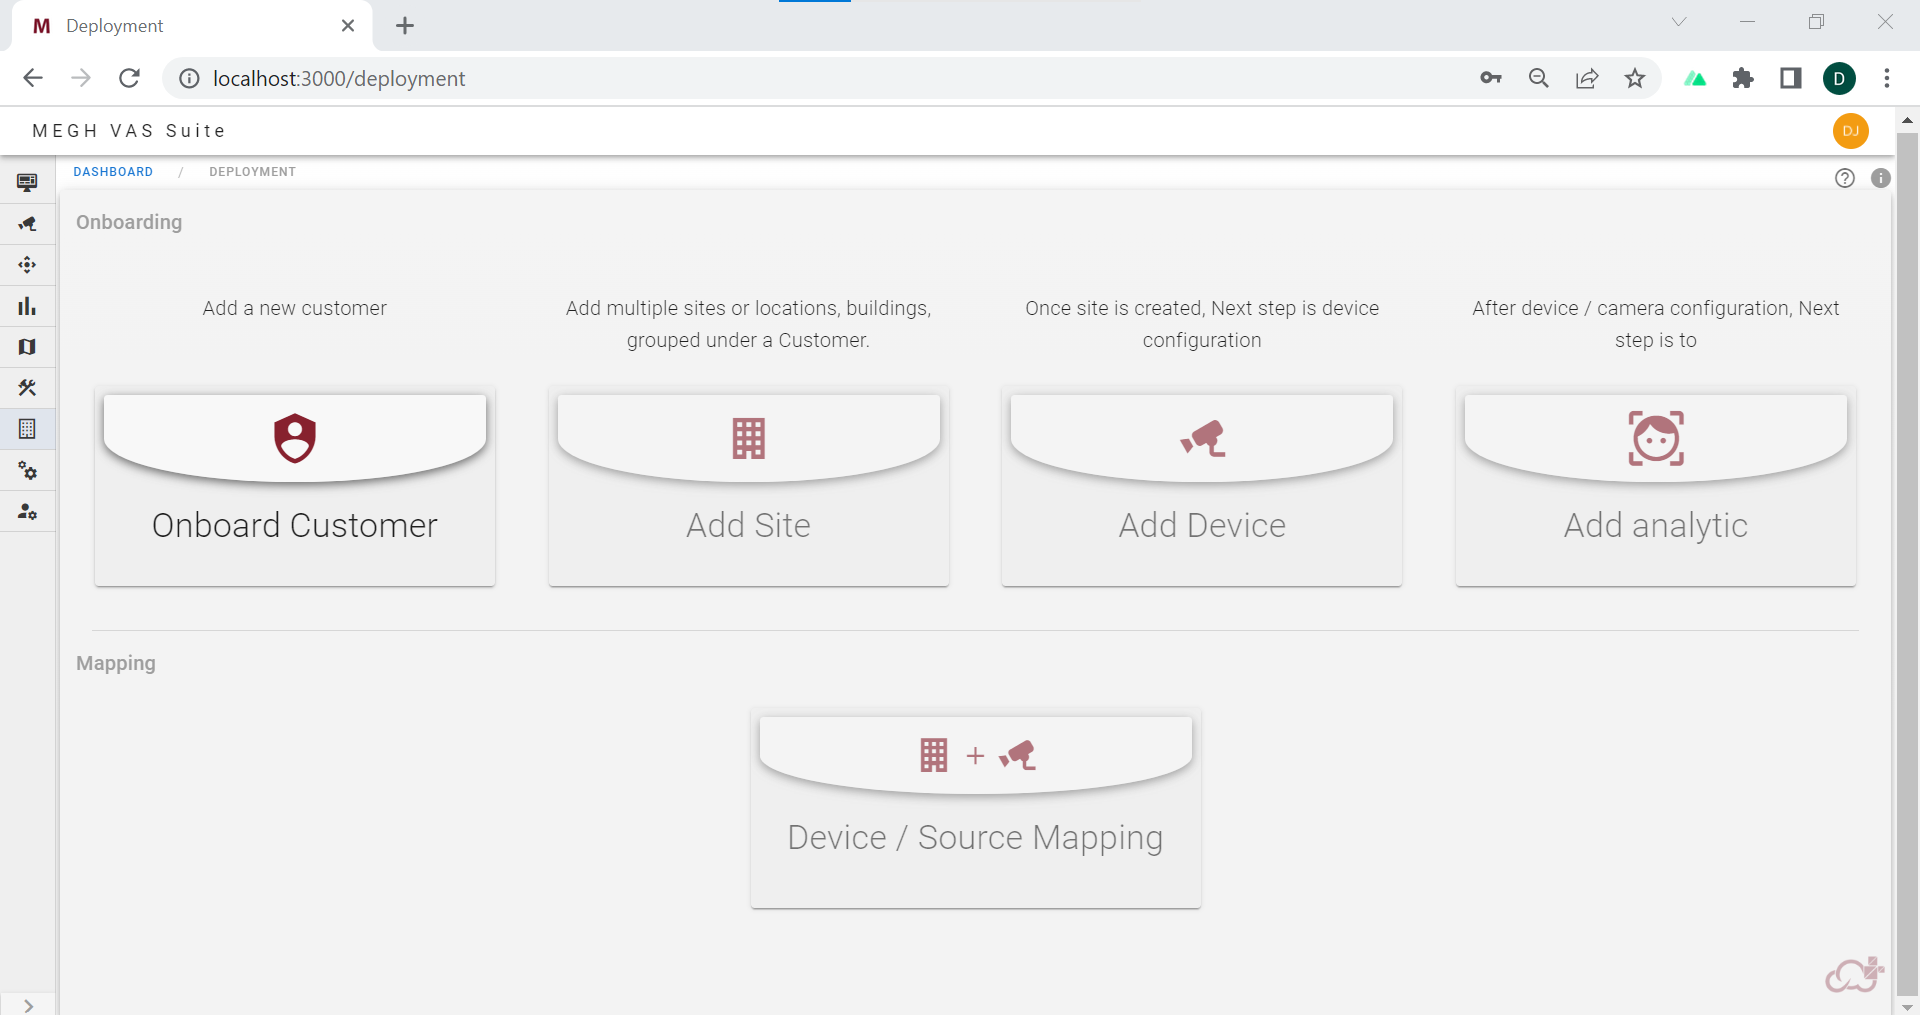
The first time users are landed directly to the deployment page after the successful login.
The first step in the onboarding process is to onboard customers for user's organization.
Onboard Customer
The user can click on onboard customer and create a customer.
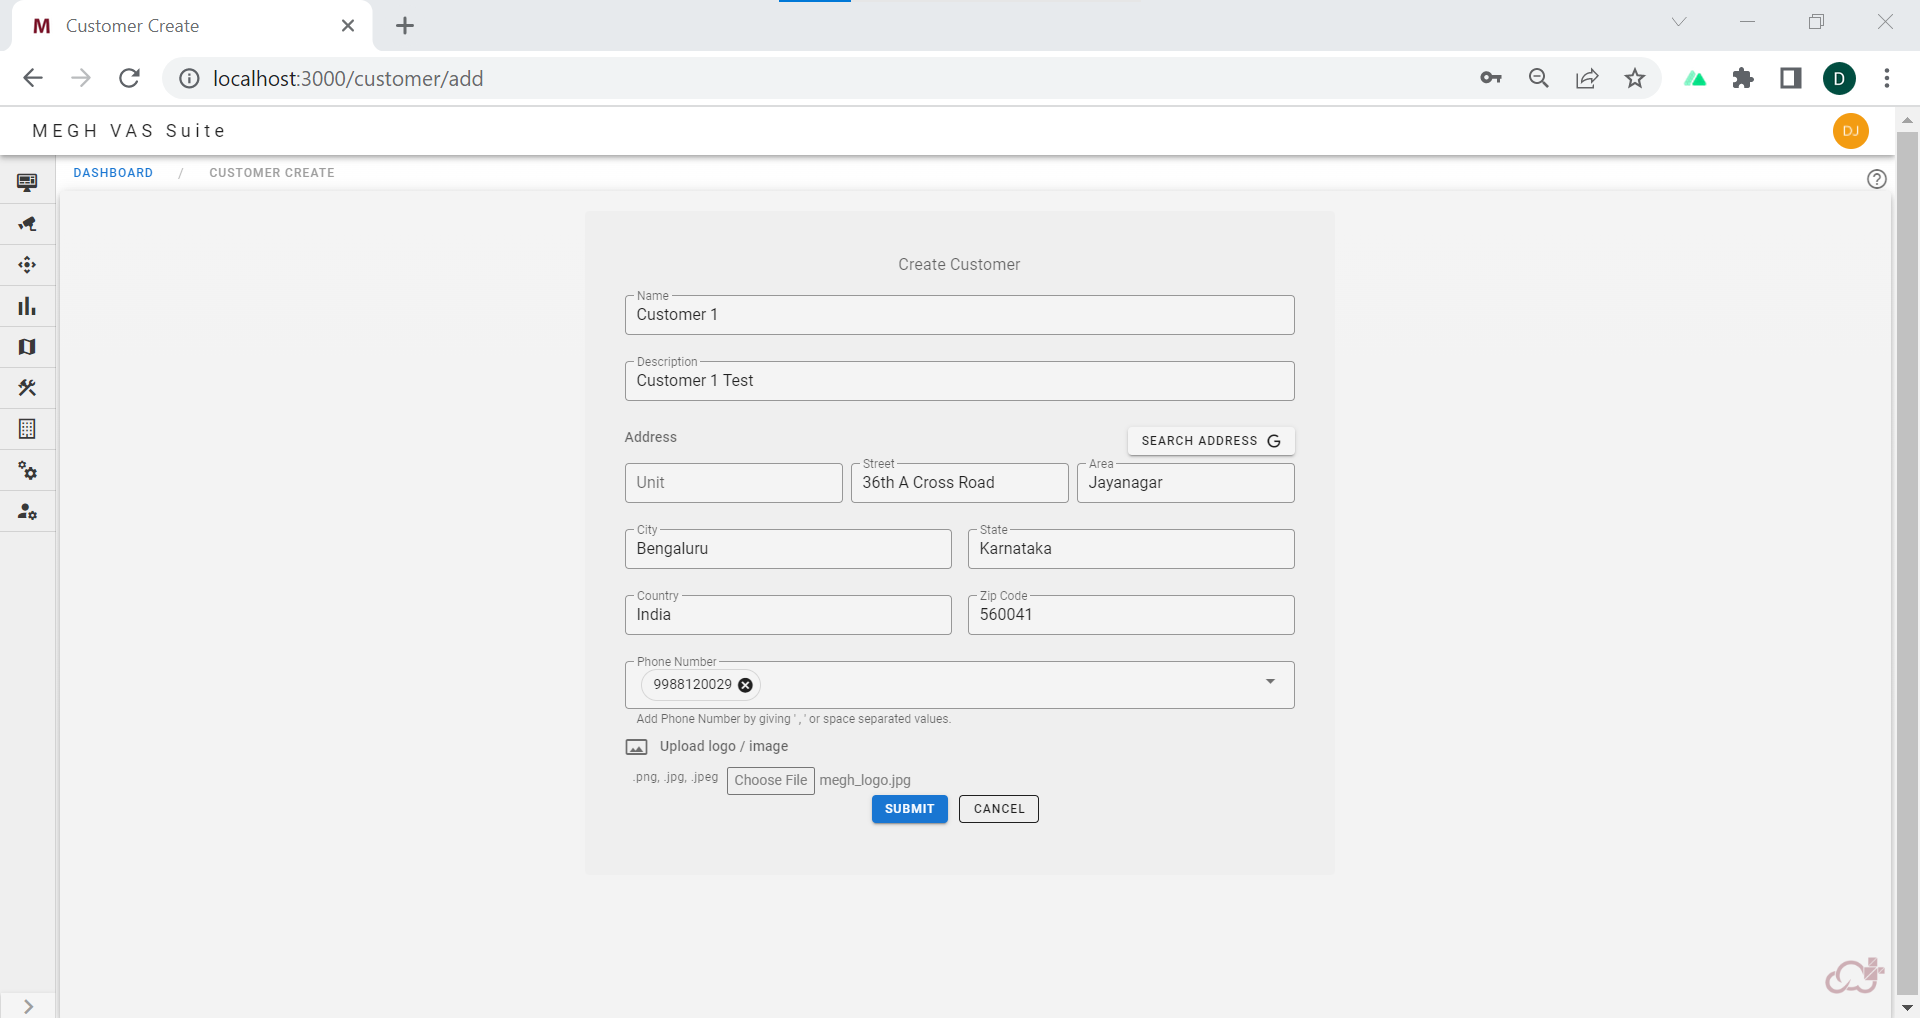
The user must provide the name of the customer with description, customer address can be typed in or user can click on search address button to select the address from the map as shown in below image.
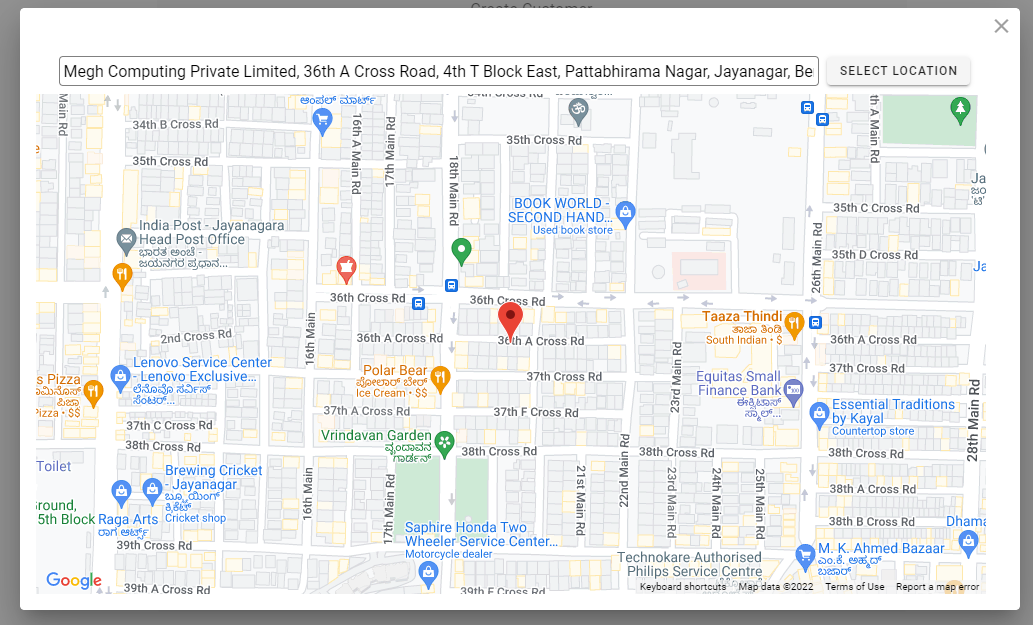
By clicking on select location, the address details will autofill in the customer create form.
The user can fill in the phone number and upload the customer logo image if required and click submit to create a customer.
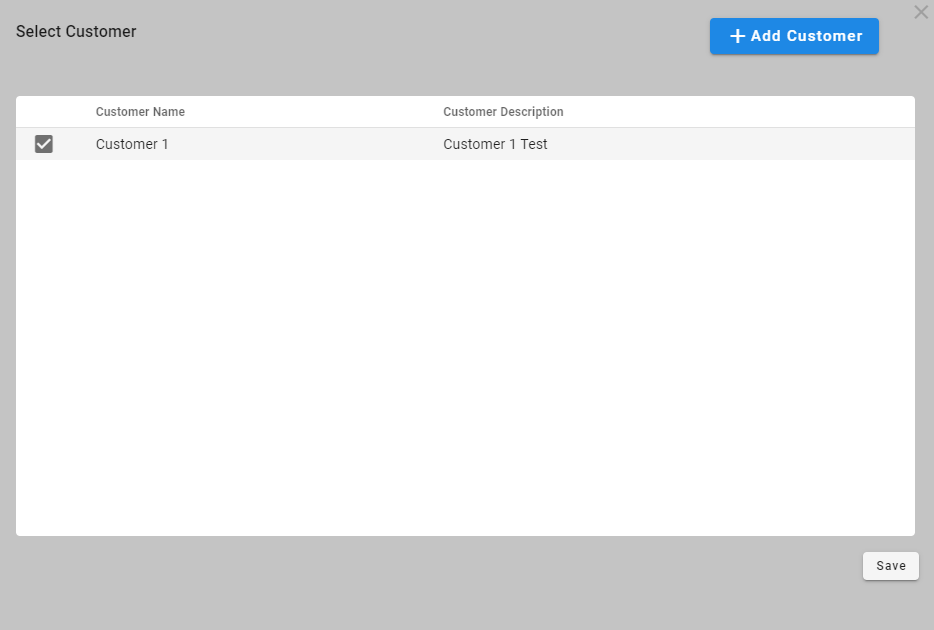
Then the user must check the box of the customer created in select customer popup and click on save.
Next step is to add sites of the customer. Click on the below link to know how to add site.
Add Site
Once the site is created the next step is to do the mapping for source, device and site.
Device/Source Mapping
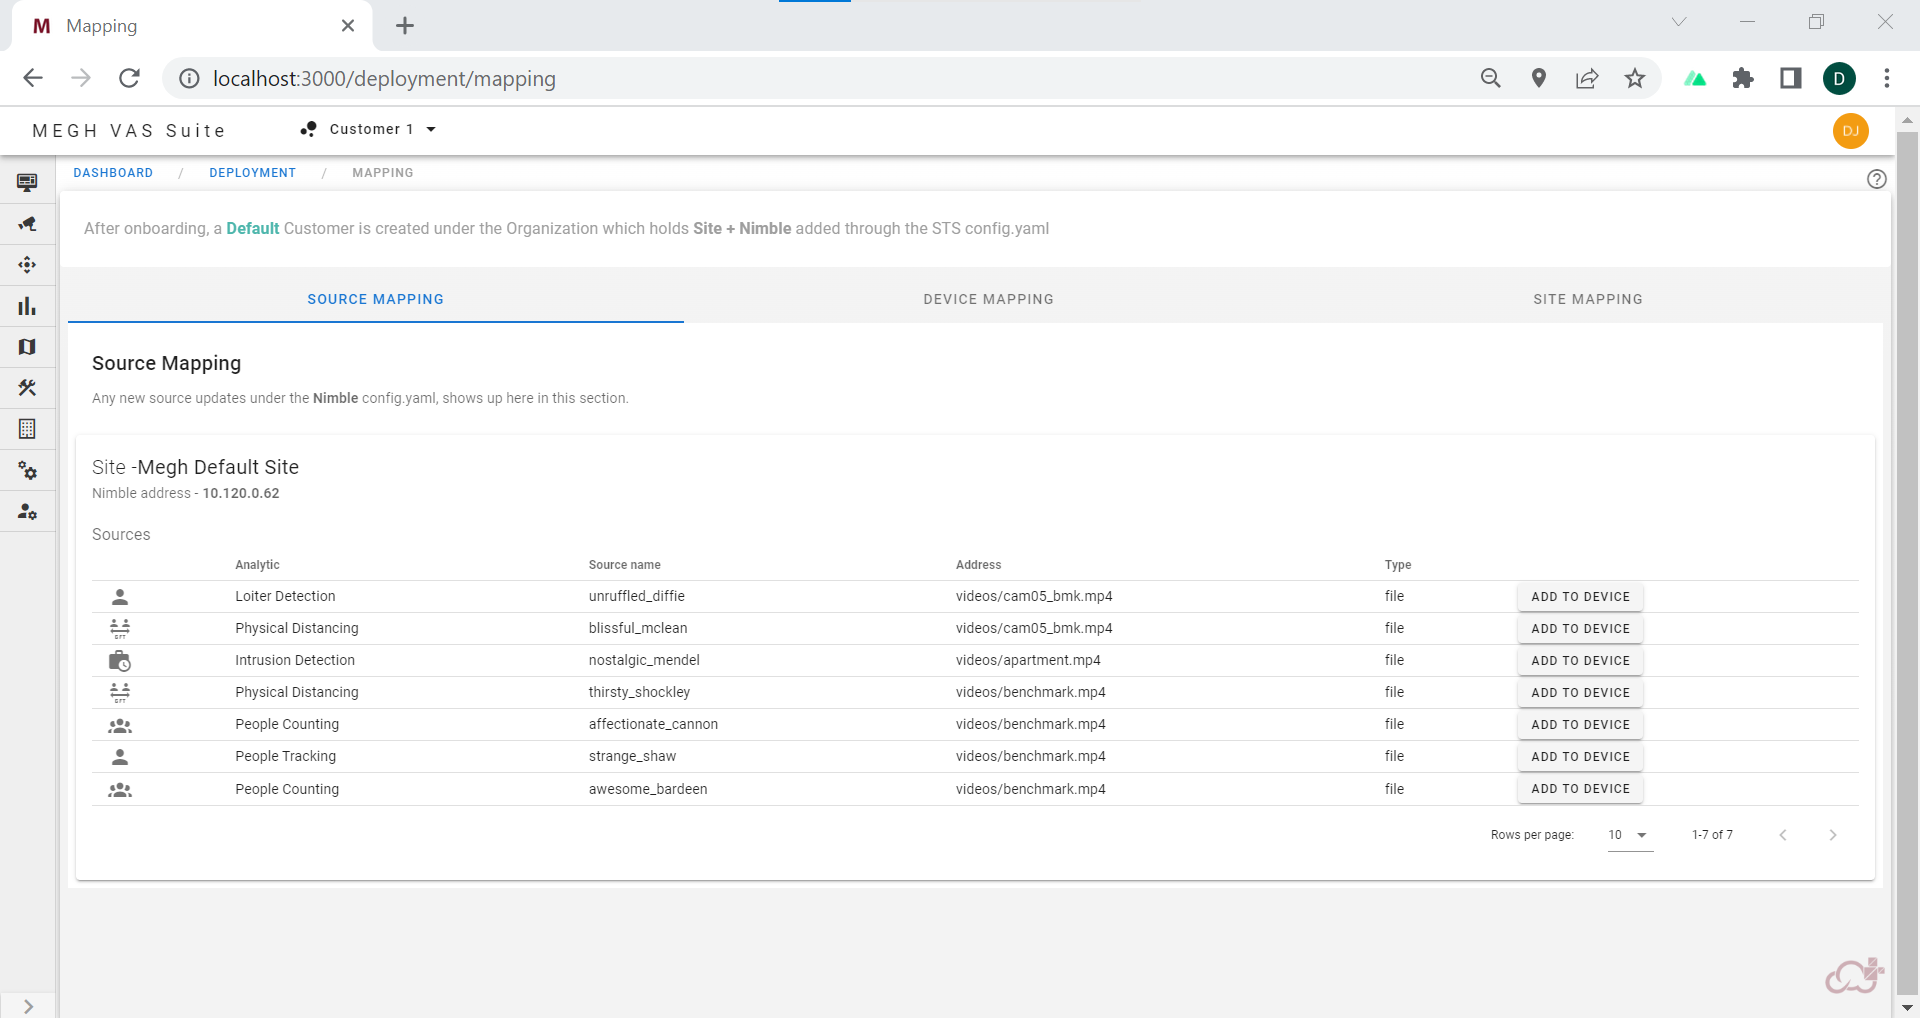
The user must go to deployments and click on Device/Source Mapping. This page has 3 tabs as shown below.
Source Mapping
First the source mapping must be selected, which shows a list of sources in tabular format displaying analytic(usecase name), source name, source address and type along with add to device button in each row.
The user can select the source he want to add and click on add to device button which opens up a create device form popup as shown below.
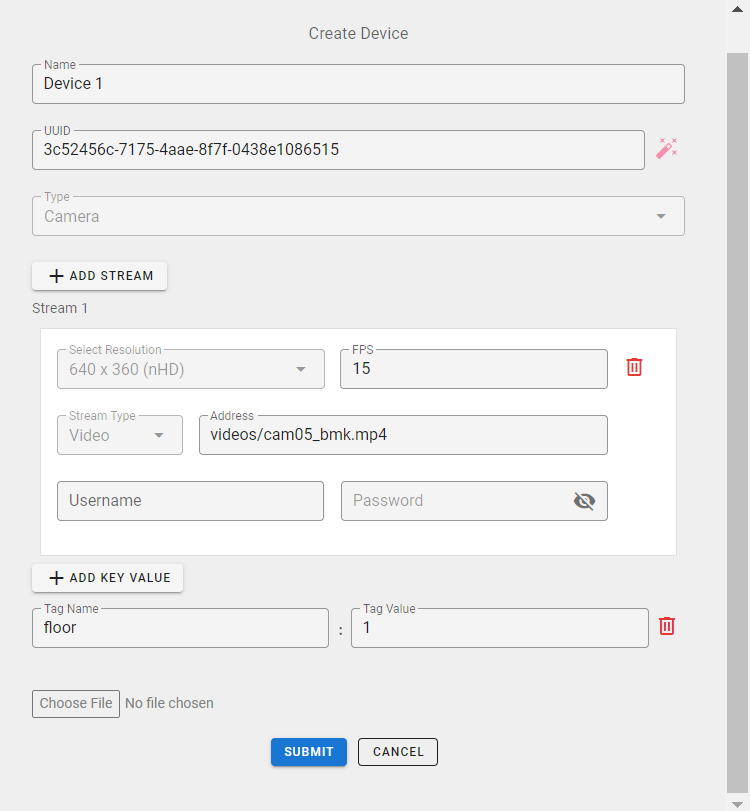
Here the user must fill in the device name, UUID (by clicking on red pen icon on the right side), add tag name and tag value, add any related file if required and the source address will be auto filled as per the selection done.
note
The user must not change the source address of the stream on device create form
Once the device is created successfully we can see that in the source mapping list, all the sources having same source address will be mapped to the same device which has been created.
Device Mapping
Once the source mapping is done,the devices attached with the source,next step is to assign those devices with the sites using Device Mapping tab.
The Device Mapping tab has all the usecase cards which are mapped to devices which is as shown below.
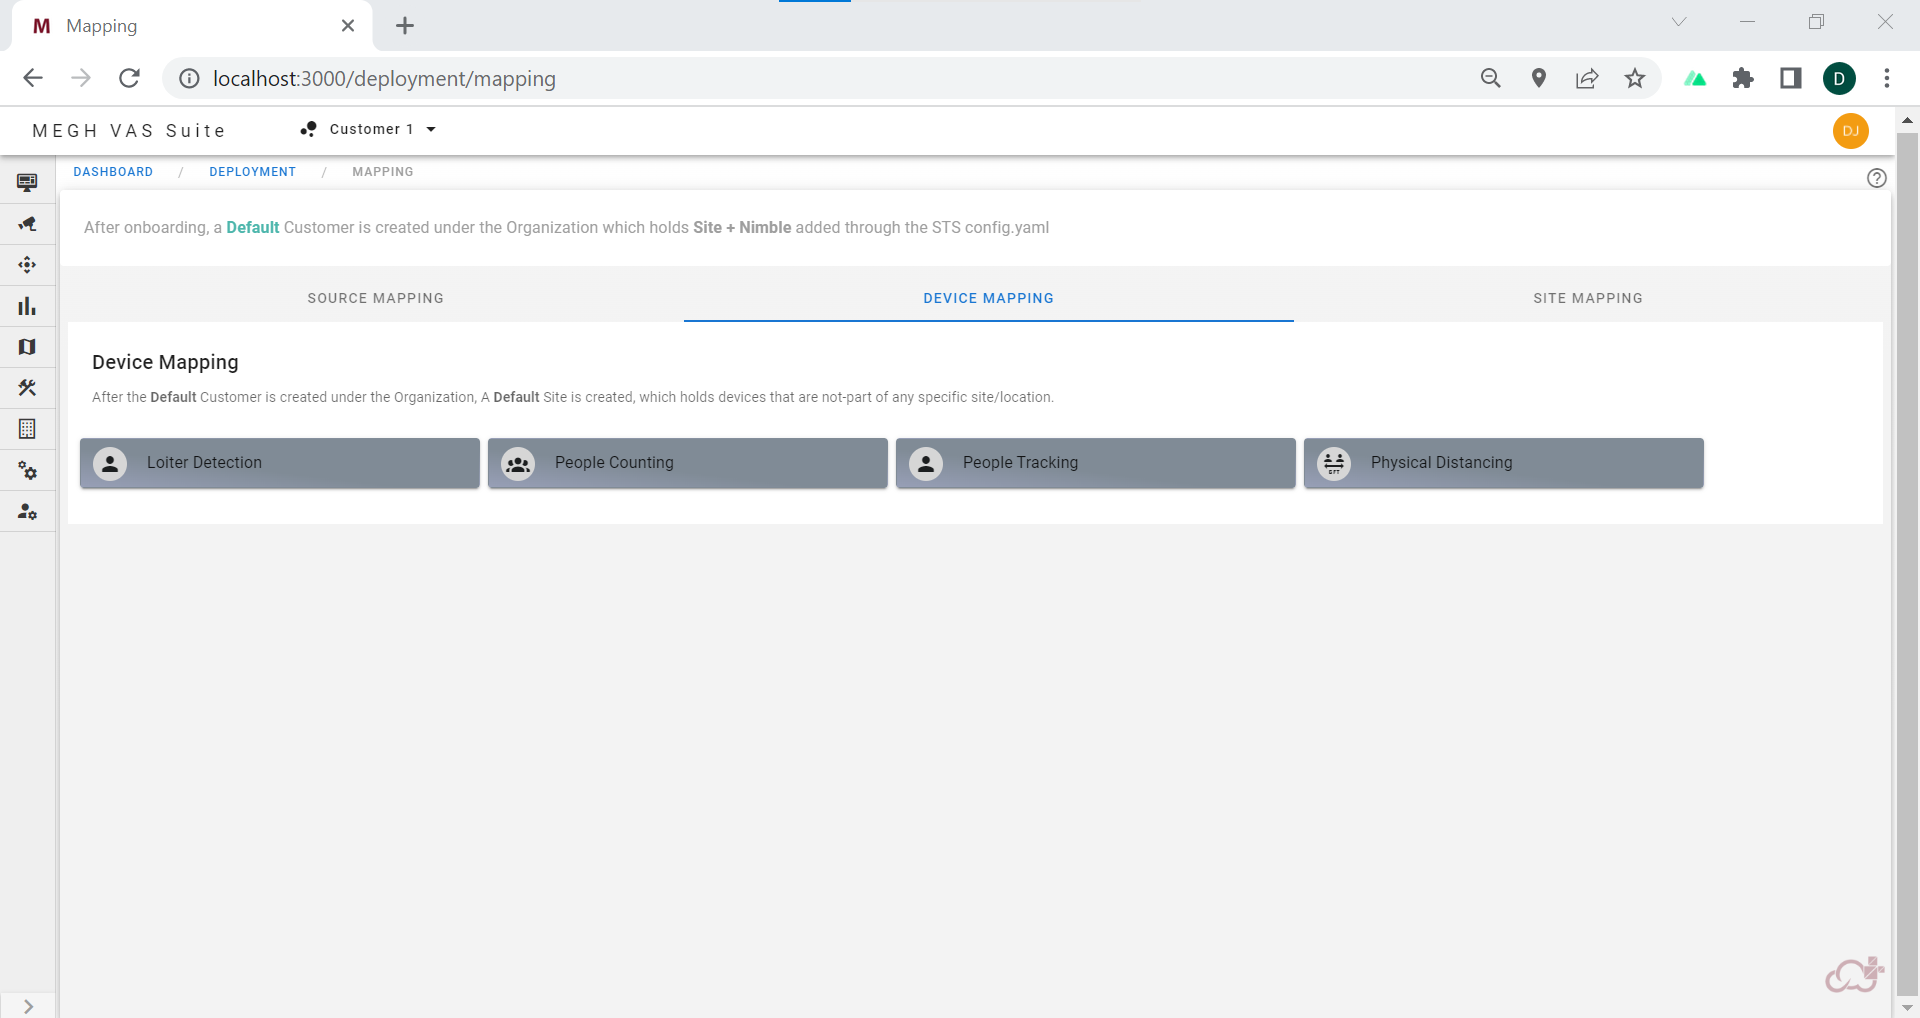
The user can click on the usecase(added to a device) of his/her choice and will be redirected to a list page having list of channels that are not assigned to any site as shown below.
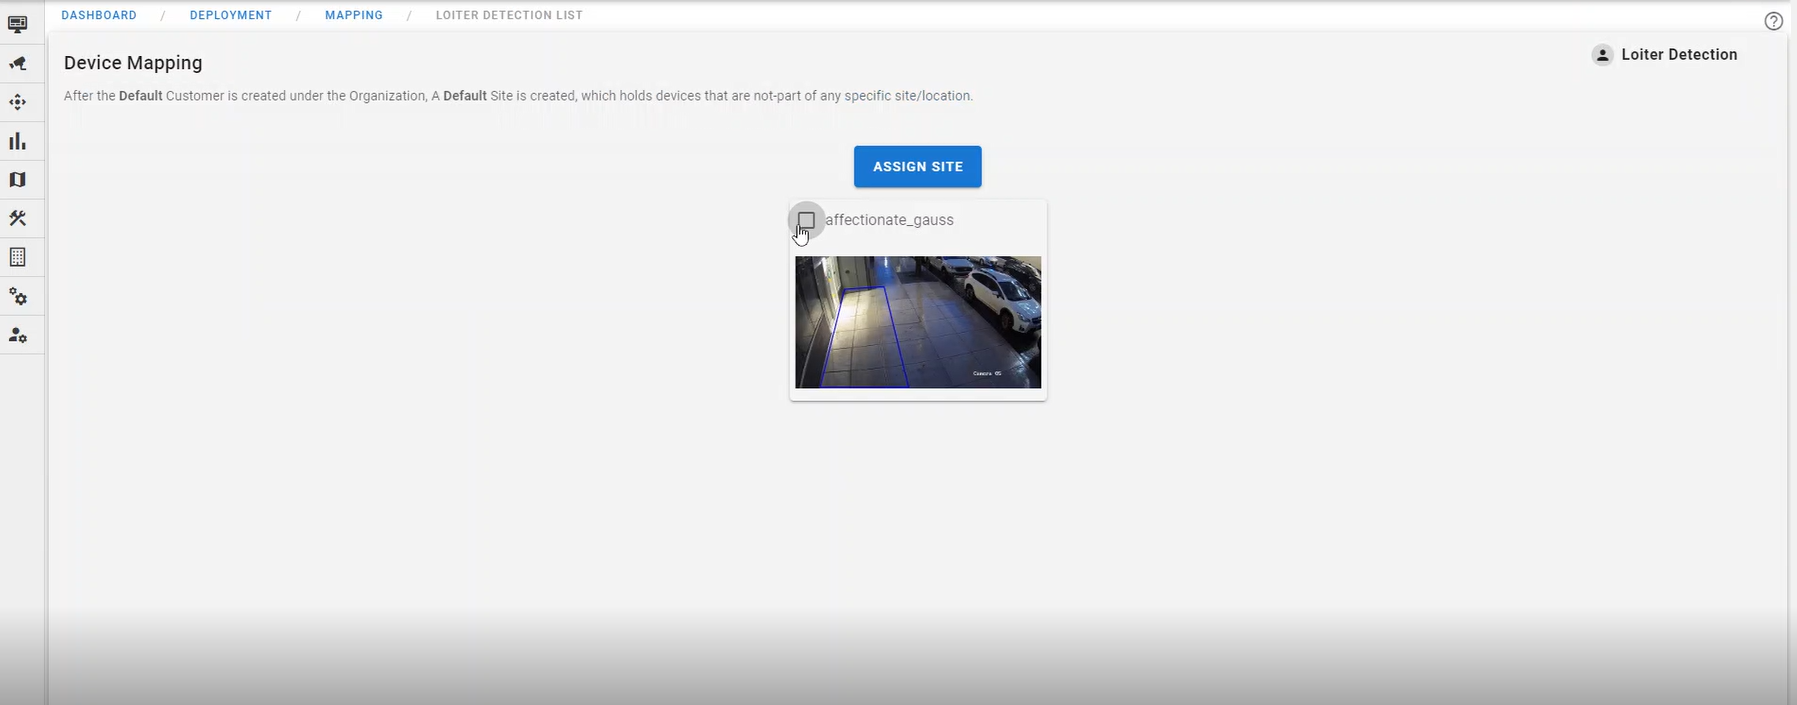
Each card has a checkbox, the user must check the box and click on assign site which opens up a pop as shown below.

Here the user must select the site he want to map to the device from the drop down list of sites already created or if there are no sites user must go to add site button on dashboard and create new site under the selected customer.
On selecting the site, click on submit and all the the selected channel devices are assigned to that site.
note
This may bring change in the usecase list if you go back to the device mapping page because the device may have multiple sources. If the device is added to a site all the corresponding sources are added.
Site Mapping
To configure this section there are two ways to edit the config.yaml file in STS. Under the Nimble section of config.yaml file, the site-key can be set as default or can be set with anything other than default like any string name for the site (Eg:test-site)
If anything other than default is given for site-key then that site name will be displayed in the site mapping page as shown in the below image.
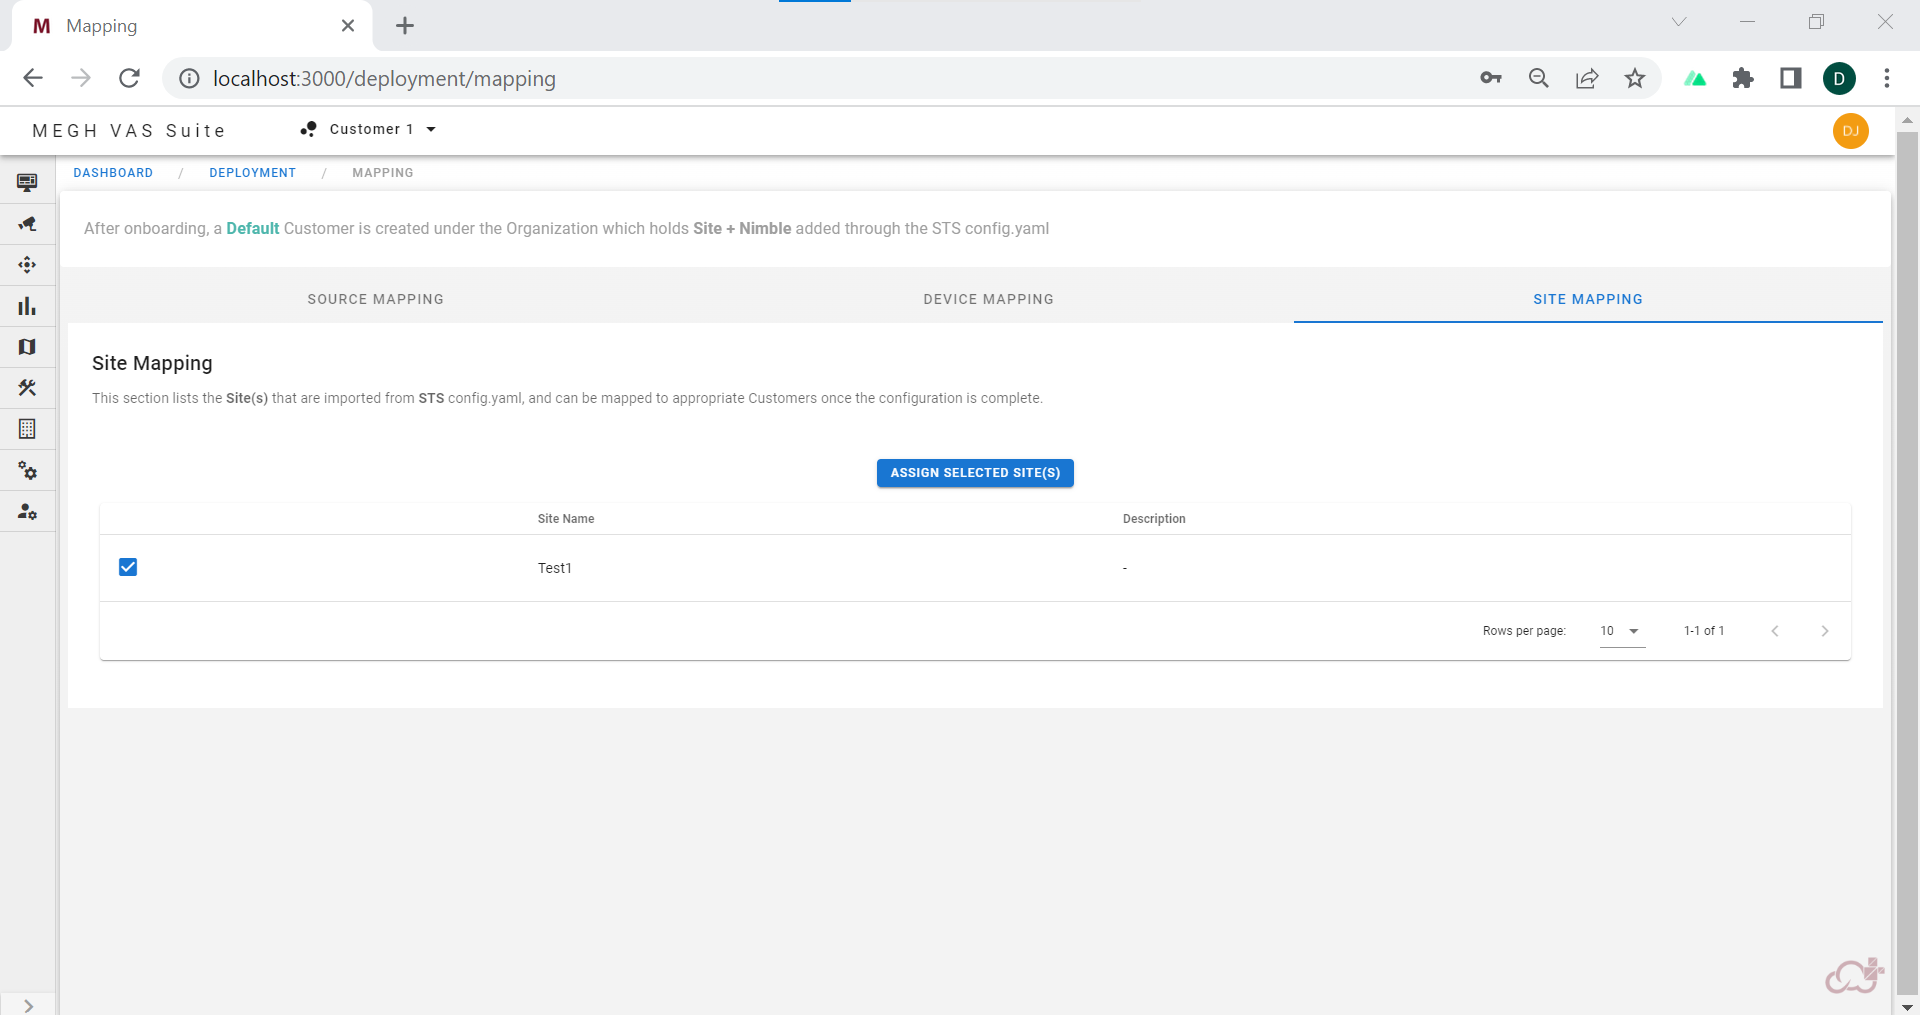
The user should map this site to the already created customer by checking the box of the respective site name and click on assign selected site.
This opens up a site mapping window as shown below.
Here user must select the required customer name and click on submit.
After this the source mapping must be done to assign sources to the devices which is already explained in the source mapping section.
Add device
- Coming soon
Add analytics
- Coming soon