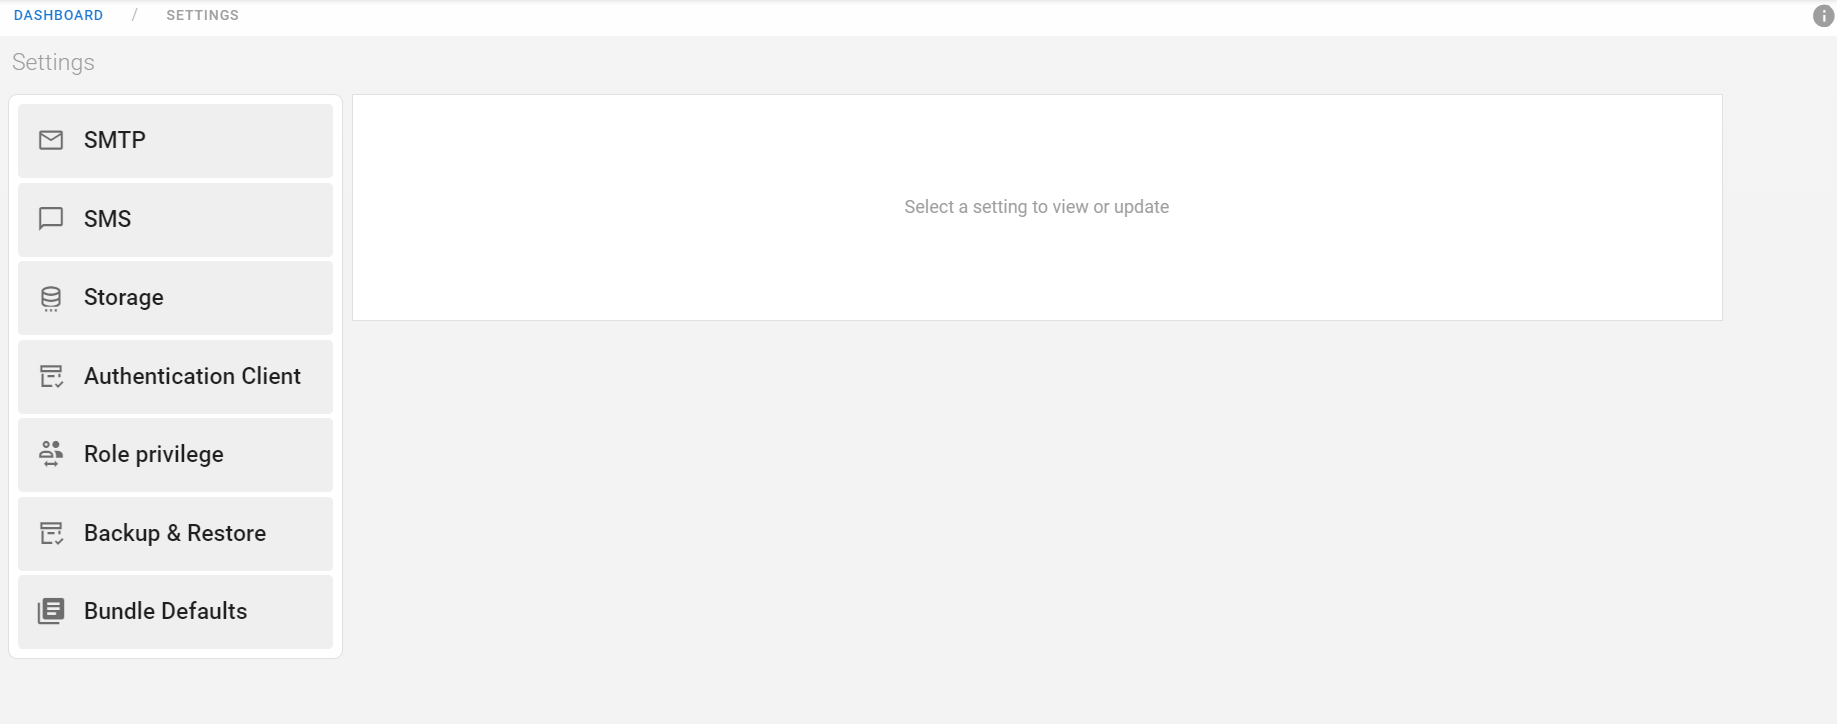
Settings
Settings functionality provides different setting options for the users like SMTP, SMS, Storage, Authentication Client, Role Privilege, Backup & Restore, Bundle Defaults. The user can directly view these settings on the Megh portal.
SMTP
The user can click on the SMTP option in the settings page to view SMTP configurations as shown in the below image.
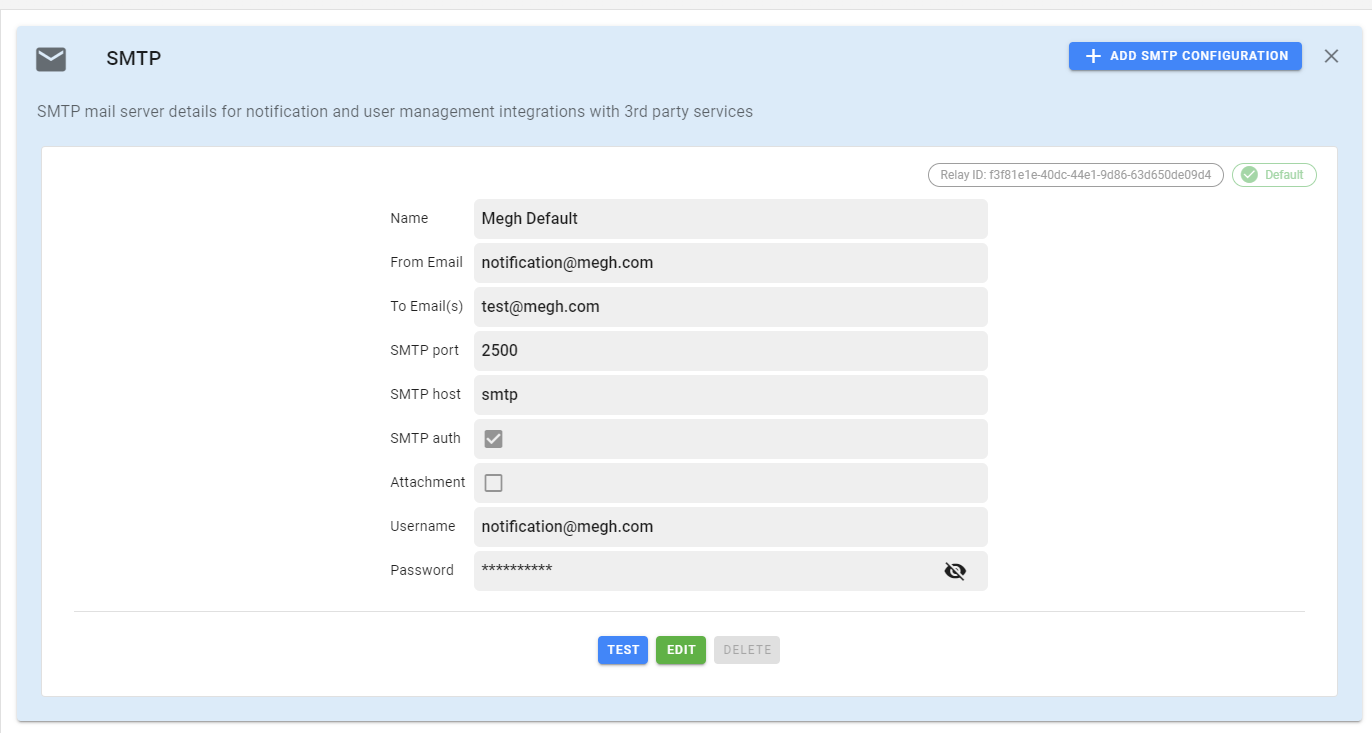
The smtp details include Name, From email, To email, SMTP port, SMTP host, SMTP auth, Attachment, Username and Password. User can click on an edit option present in the bottom center to edit smtp details. Users can also use the test option to test the smtp service and delete option to delete the smtp configuration. User can add multiple smtp configuration by clicking on the add SMTP configuration button in the top right corner.
SMS
The user can click on the SMS option in the settings page to view SMS configurations as shown in the below image.
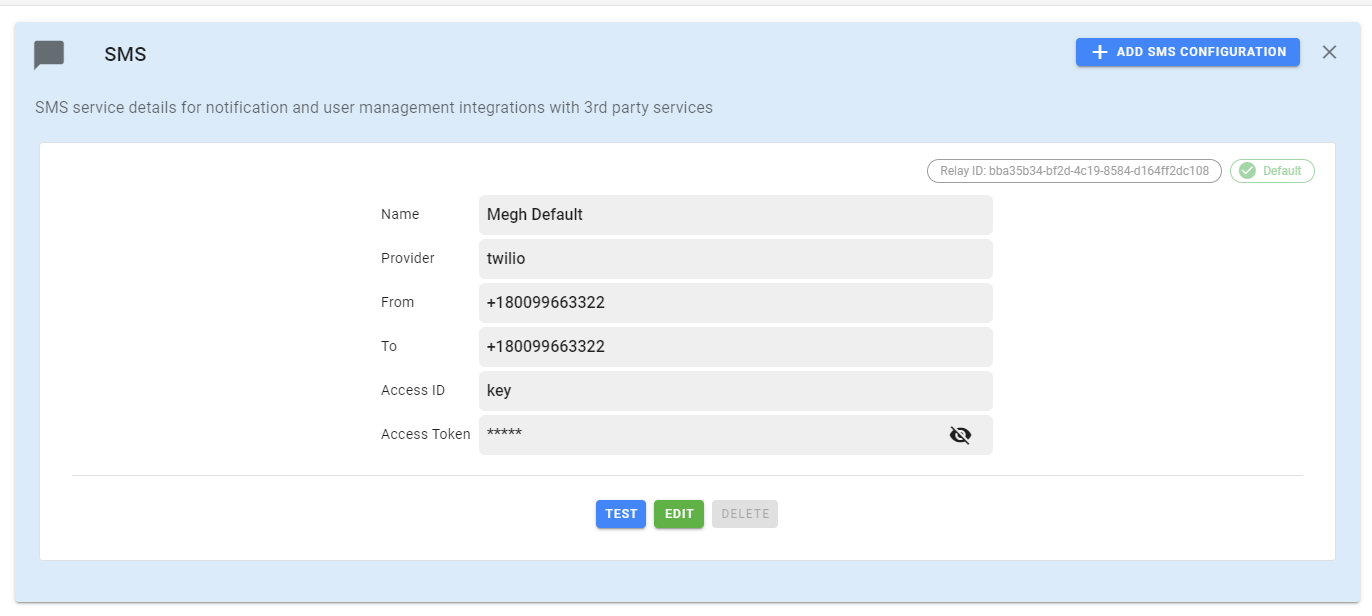
This includes Name, To and From number and provider details with access id and access token. User can click on an edit option present in the bottom center to edit sms details. Users can also use the test option to test the sms service and delete option to delete the sms configuration. User can add multiple sms configuration by clicking on the add SMS configuration button in the top right corner.
Storage
The user can click on the Storage option in the settings page to view Storage configurations as shown in the below image.
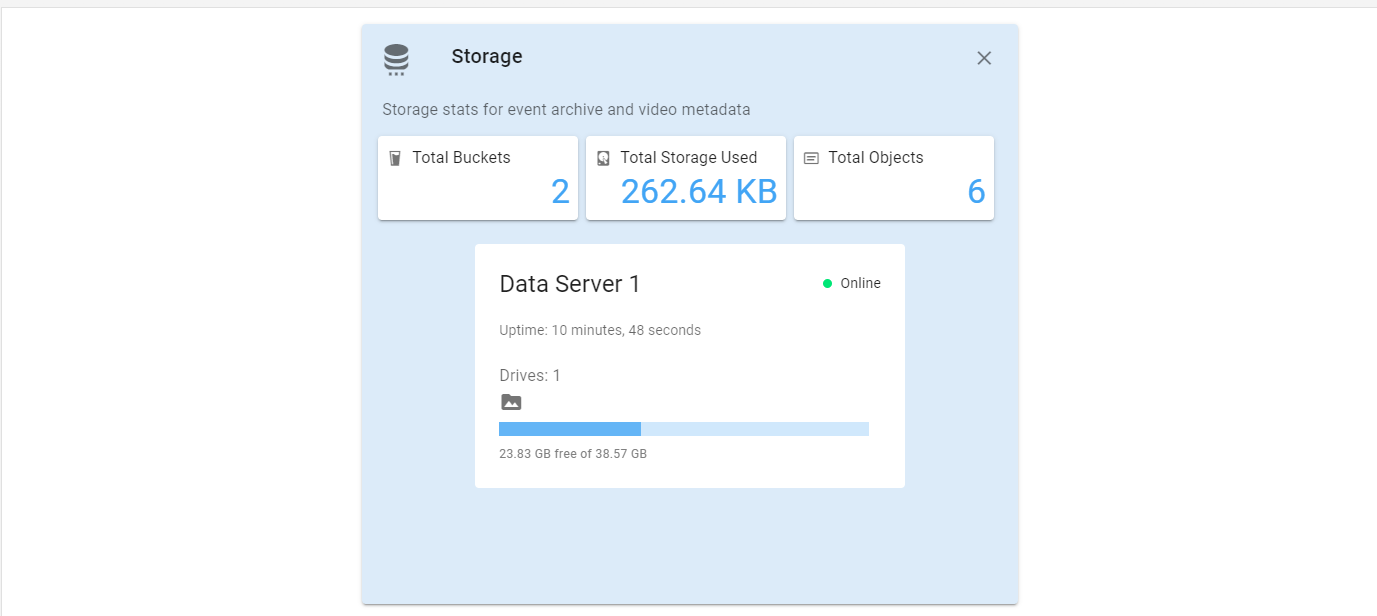
It displays the total number of minio buckets and total storage used and total objects. It also displays the data server details of the user with the number of drives and storage space as shown in the above image.
Authentication Client
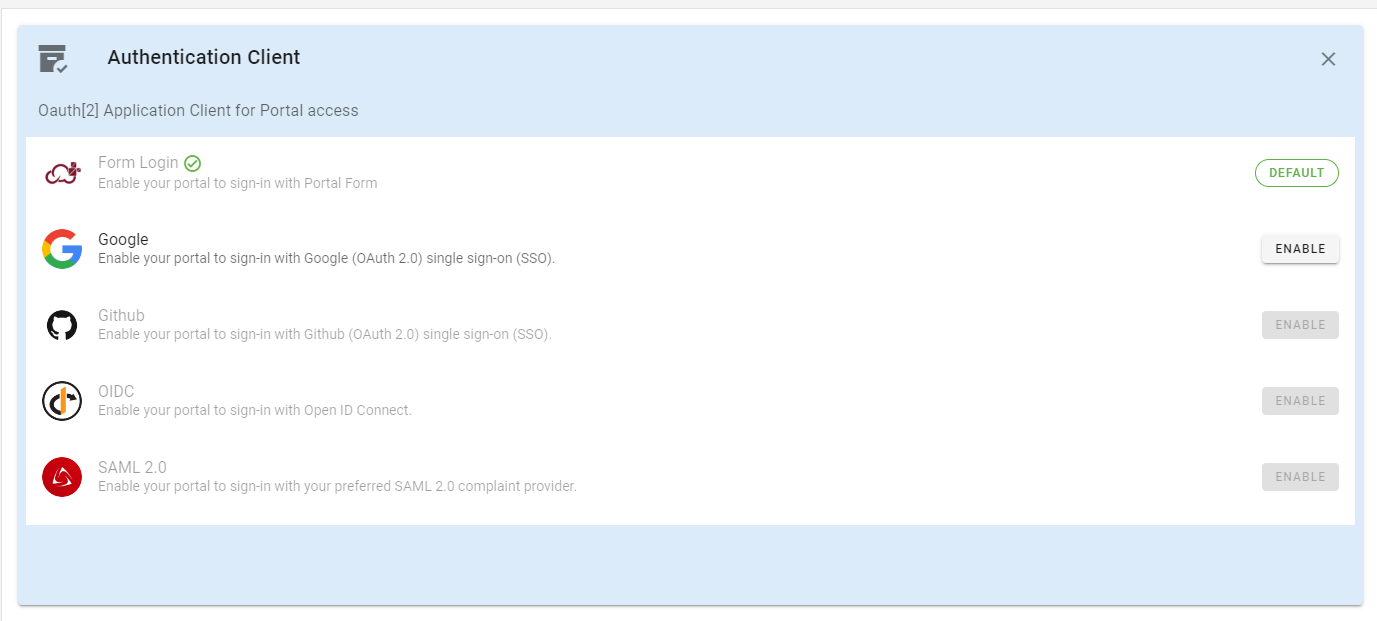
User can enable different authentication client for Megh Portal access. Sign-in option with Google is provided for the current release. To enable google authentication, user can click on enable option, shown in the below image.
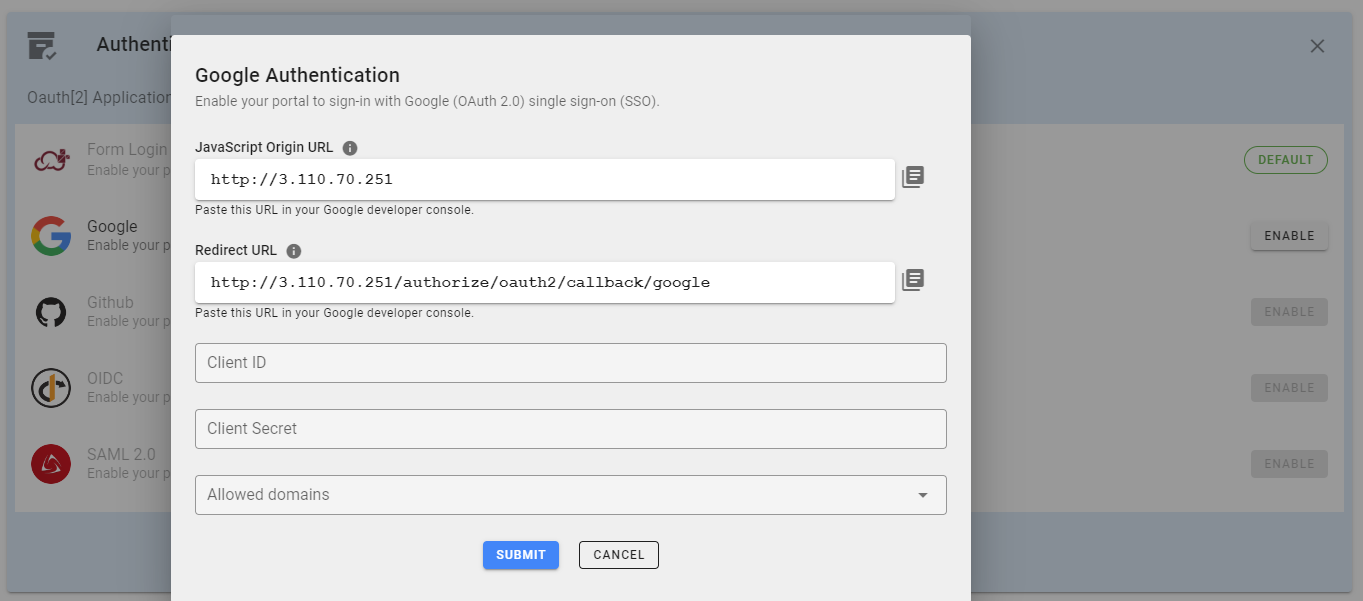
This opens up a google authentication client page as shown below. Here user can fill in the ClientID, ClientSecret, Allowed domains(this field is not mandatory) and submit the form. This will restart the STS dockers and update the Google auth details.
Once its successfully enabled, user can just log out and see the below login page which has the Login with Google option enabled.
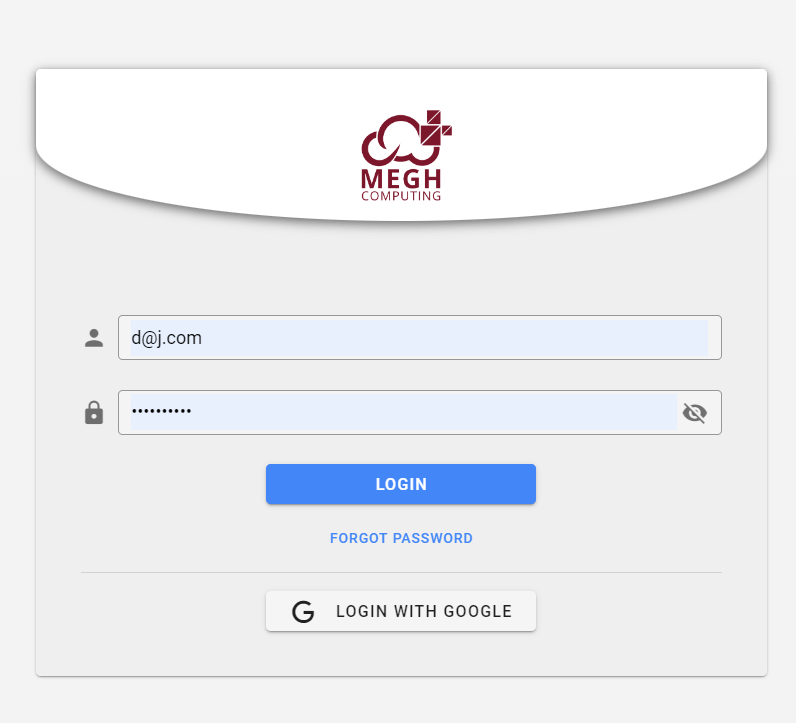
User can click on this option, and it will redirect the user to google sign in page where user must provide their Google login id and password to authenticate. Once its successfully authenticated, the user will be logged into the Megh Dashboard.
Role Privileges
The user can click on the Role privileges option in the settings page to view all role privileges as shown in the below image.
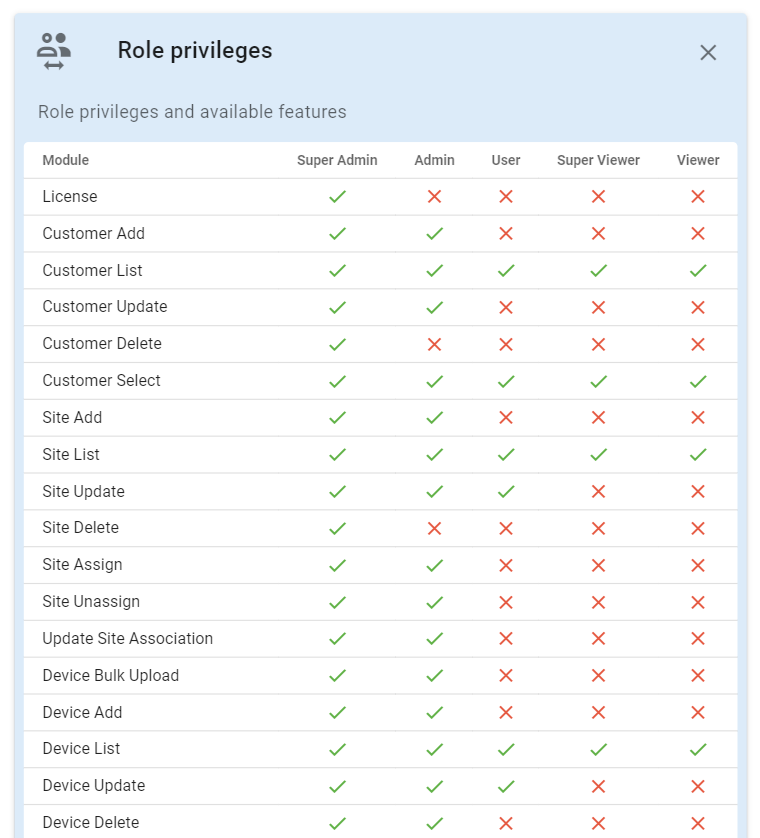
It displays all the different roles with different features which are available for each of the roles as shown in the above image.
Backup and restore
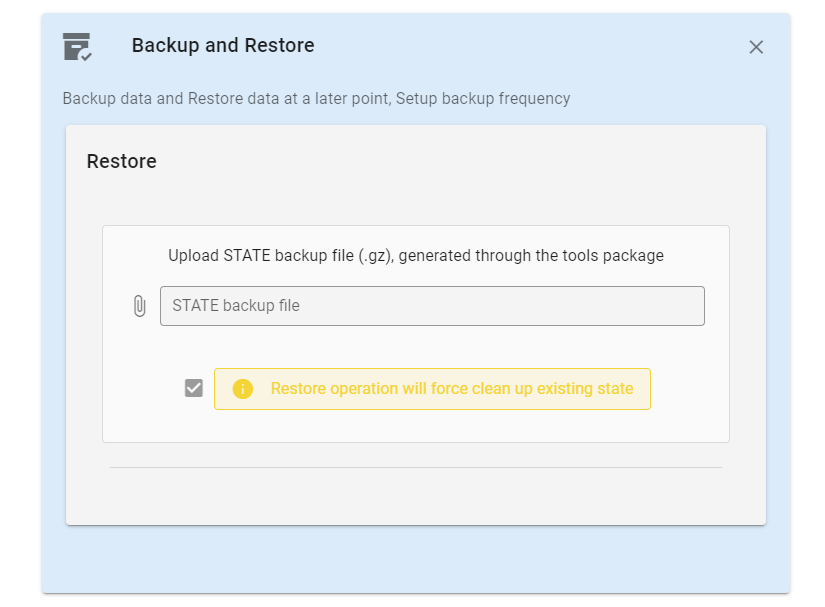
The user can click on the Backup and Restore Option to do mongodb data backup and restore. Here the user can select the backed-up file from the user's local system which should be of the format ".tar.gz". It should be remembered that the restore option will force cleanup the existing state with the selected file. Once the file is selected it opens up two types of restore options for the user as shown below.
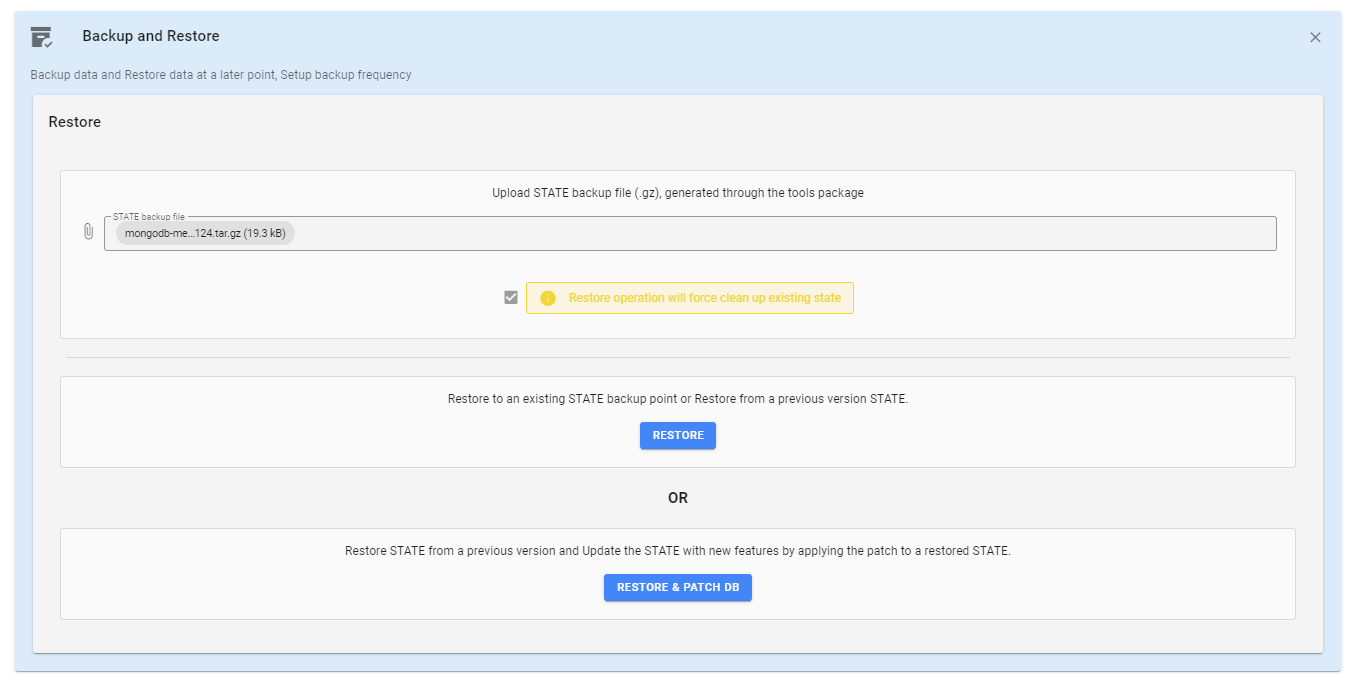
i) Restore: This option restores the backed-up file by cleaning up the existing state.
ii) Restore and Patch DB: This option restores the backed-up file by cleaning up the existing state, and it will also do patch to the restored file. The patch operation will update the Database collection fields with new fields which are added in the latest releases if user is trying to update from old to new releases.
Once the restore is done successfully user can see Restored state successfully message on the UI. Similarly, Once the patch is done successfully user can see Patch Applied successfully message on the UI.
Only SuperAdmin role can access the Backup and restore option in the settings page.
Bundle Defaults
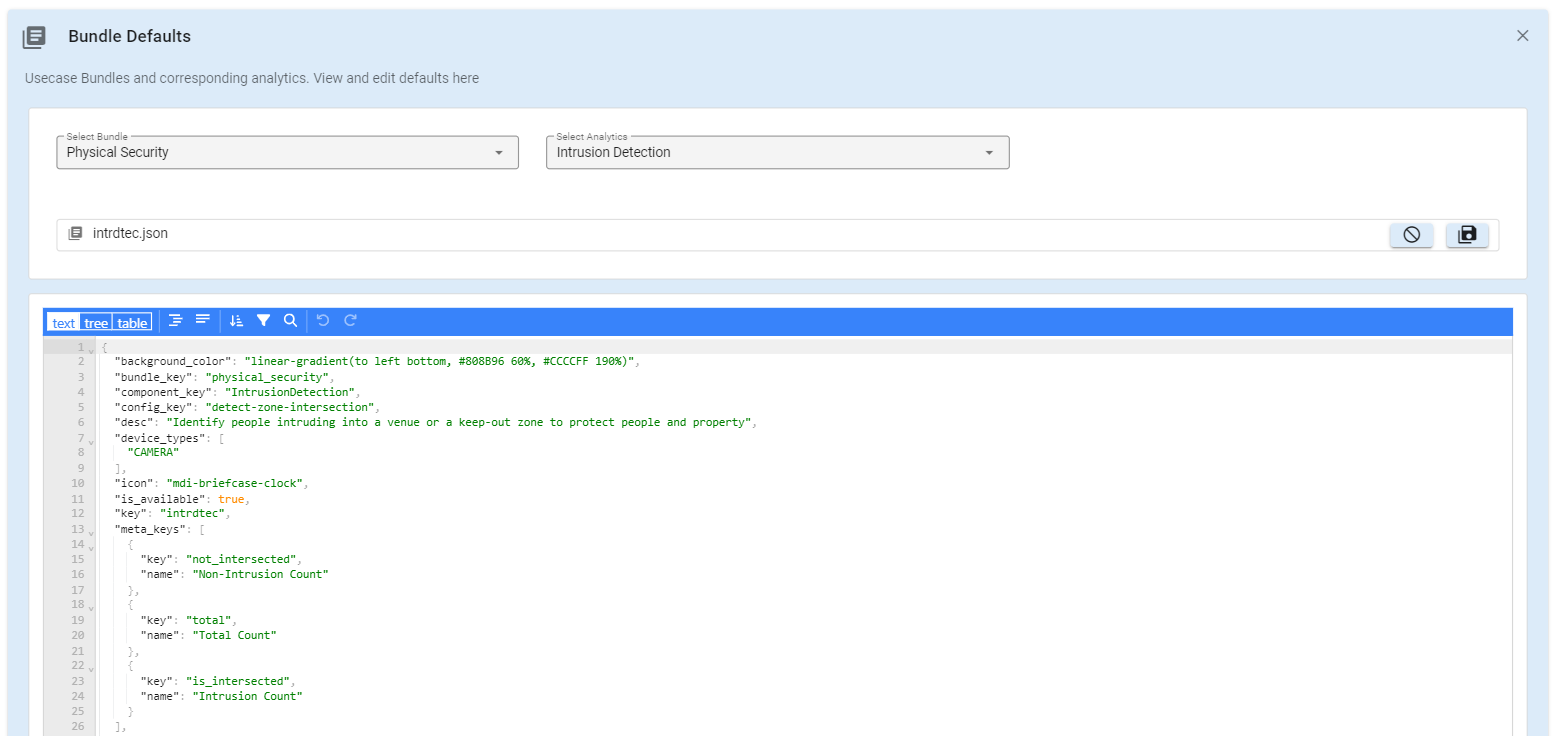
This section lists all the Usecase bundles and corresponding usecase analytics. Here user can view and edit the default set analytics.
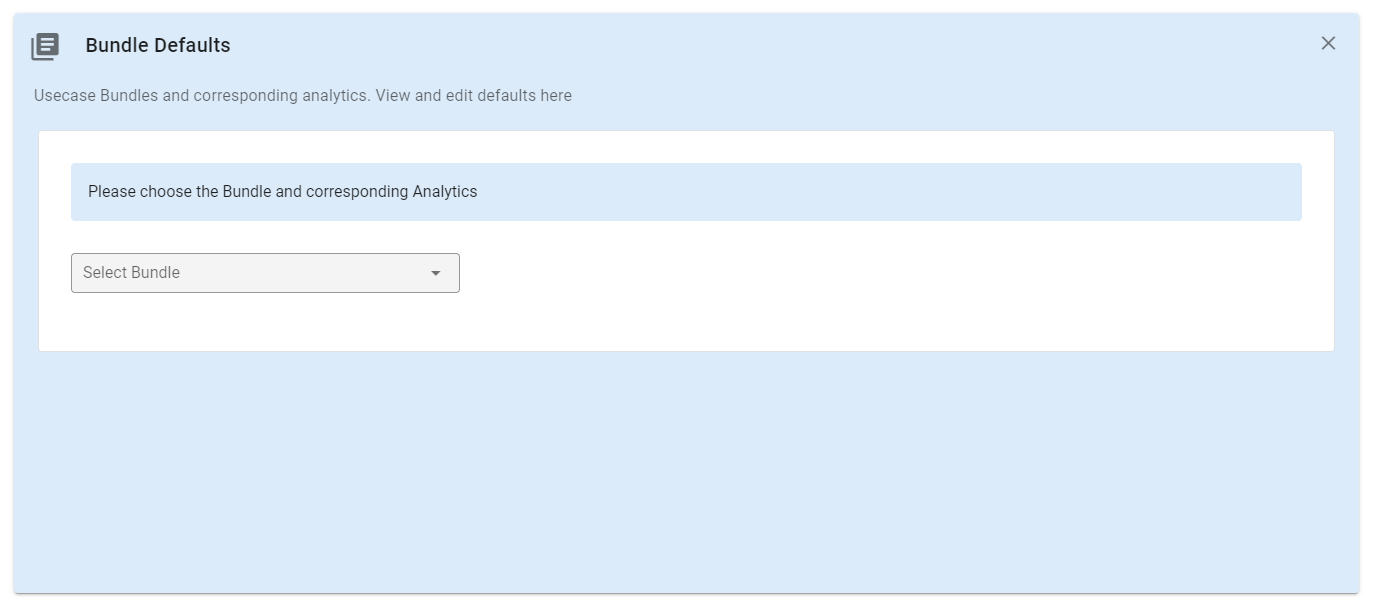
From the drop-down user can select the usecase bundle and next select the usecase analytic under it and view the json details as shown in the below image. This lists the complete json data for that usecase analytic.

The user can edit this json by clicking on the pencil icon in the top right corner shown in the above image. This opens up an editor as shown in the below. Here user can edit the json data, and this provides three view for the user i.e., text, tree, table view. Once the user has completed with the editing, they can click on save icon on the top right. Then to come out of the editor window user can click on cancel icon in the top right.