Prerequisites
Automatic System Reboot on Power Restore
In the event of a power failure, or any other reason that would cause the edge node to shutdown, the BIOS needs to be configured to automatically reboot.
- Reboot the device and press the F2 key while it is rebooting to open the BIOS settings.
- Navigate to Advanced -> Power -> After Power Failure
- Set to "Power On"
Automatic Updates
To ensure your device receives critical security updates, follow the steps below.
- Open the Terminal and run the following command
- Select "Yes"
- Set to "Power On"
$ sudo dpkg-reconfigure unattended-upgrades

Licensing Validation
In order for our software to reach the licensing servers correctly, please ensure these domains and IP addresses are not blocked:
https://go.netlicensing.io/core/v2 (54.246.21.52)
https://netlicensing.labs64.com/core/v2 (54.246.21.52)
Edge-to-Cloud Connectivity
In an edge-to-cloud deployment scenario where the edge nodes are behind a firewall, you have two options for VAS Portal to access the edge node.
- VAS Node
- Port Forwarding
- ZeroTier
This package installs the VAS Node, which helps edge NUC devices to connect to the VAS Portal in the cloud. It configures the network to connect to the VAS Portal and also provides the IP address to establish the connection from VAS Portal to manage VAS Nimble.
To install the VAS Node packages, run the following command in a terminal window:
$ sudo mcutils install vas-node
This package requires mcutils, which is preinstalled on Megh NUCs. If you are using your own machine, and would like to use VAS Node, please contact Megh support.
- Power Saving Options
- Open the system settings and open "Power"
- Under "Power Saving Options", click the toggle off for "Dim Screen"
- Set "Screen Blank" to "Never"
- Set "Automatic Suspend" to "Off"
- Disable Wayland
- Open the terminal and execute the following command:
- Remove the # from the line and save:
- Reboot the device
- Install TeamViewer
- Open the terminal and execute the following commands:
- Enter "y" when prompted.
- You can create a personal password that you can use to login. Otherwise, TeamViewer will randomize the password.
- Navigate to Extras->Options->Advanced
- Scroll down to "Personal password" and enter the password you wish to use.
$ sudo vi /etc/gdm3/custom.conf
#WaylandEnable=false
$ sudo apt update
$ wget https://download.teamviewer.com/download/linux/teamviewer_amd64.deb
$ sudo apt install ./teamviewer_amd64.deb
VLC
VLC allows you to test and debug the edge node to camera connection
- Open the terminal and execute the following command:
$ sudo snap install vlc
Google Chrome
Chrome is encouraged as it is the best way to experience accessing Megh Portal
- Open the terminal and execute the following commands:
$ wget https://dl.google.com/linux/direct/google-chrome-stable_current_amd64.deb
$ sudo apt install ./google-chrome-stable_current_amd64.deb
- Open the Terminal and run the following commands:
- Use the network ID Megh Computing provided in the following command:
- Login to your account at myzerotier.com.
- Navigate to Members.
- Click "Auth" and give a name and description for the machine.
- The Managed IP is the internal IP that can be used to access the machine within the subnet.

$ curl -s 'https://raw.githubusercontent.com/zerotier/ZeroTierOne/master/doc/contact%40zerotier.com.gpg' | gpg --import && \
if z=$(curl -s 'https://install.zerotier.com/' | gpg); then echo "$z" | sudo sh; fi
$ sudo zerotier-cli join < Network ID >
Are your users going to maintain their own ZeroTier portals?
Accessing and Maintaining Edge Nodes
Using these 3rd party softwares are recommended to help with accessing, installing and maintaining edge nodes.
TeamViewer
TeamViewer requires a headless HDMI dongle or the device to be connected to a monitor.
- Power Saving Options
- Open the system settings and open "Power"
- Under "Power Saving Options", click the toggle off for "Dim Screen"
- Set "Screen Blank" to "Never"
- Set "Automatic Suspend" to "Off"
- Disable Wayland
- Open the terminal and execute the following command:
- Remove the # from the line and save:
- Reboot the device.
- Install TeamViewer
- Open the terminal and execute the following commands:
- Enter "y" when prompted.
- You can create a personal password that you can use to login. Otherwise, TeamViewer will randomize the password.
- Navigate to Extras->Options->Advanced
- Scroll down to "Personal password" and enter the password you wish to use.
$ sudo vi /etc/gdm3/custom.conf
$ #WaylandEnable=false
$ sudo apt update
$ wget https://download.teamviewer.com/download/linux/teamviewer_amd64.deb
$ sudo apt install ./teamviewer_amd64.deb
VLC
VLC allows you to test and debug the edge node to camera connection.
- Open the terminal and execute the following command:
$ sudo snap install vlc
Google Chrome
- Open the terminal and execute the following commands:
$ wget https://dl.google.com/linux/direct/google-chrome-stable_current_amd64.deb
$ sudo apt install ./google-chrome-stable_current_amd64.deb
Increasing the SWAP Memory
To allow the download of large files, you need to increase the swap memory.
It is recommended to install htop, a system monitor.
In a terminal window, enter:
$ sudo snap install htop
To increase the swap memory, execute the following commands:
$ sudo su
$ swapoff -a
$ dd if=/dev/zero of=/swapfile bs=1M count=<size you want>
$ mkswap /swapfile
$ swapon /swapfile
After "count=", enter the amount of memory you will need. A good rule is if your system memory is less than 16gb, swap should be double the RAM. (4GB RAM, 8GB Swap). If your system memory is over 16gb, then swap should equal the RAM.
An example of a machine with 16gb of RAM would be:
$ dd if=/dev/zero of=/swapfile bs=1M count=16000
Installing the Application
VAS Nimble
This package installs VAS Nimble, which is an analytics and machine learning engine application backend that provides access to run analytics and ML models on the camera feed. It also provides a REST API and WebSocket for metadata consumption.
If you are using your own machine, enter the following command in the command-line:
$ sudo mcutils install vas-nimble --version vX.X.X
or
$ sudo mcutils install vas-nimble
In the above command user can specify the version tag to install specific release version image or can just give the second command to install latest image of vas-nimble/vas-portal.
Once the user hits the above command when prompted, enter 'y' to enable Nimble to recover itself on reboot or 'N' to not.

Once the vas-nimble installation is completed, change directory to /opt/megh-vas/nimble.
$ cd /opt/megh-vas/nimble
Run the following command to bring up the nimble docker:
$ docker-compose up -d
VAS Portal
This package installs the VAS Portal, which is a web application and microservices backend that provides access to the Megh VAS platform. Through this application, you can manage VAS Nimble. It also provides a REST API and WebSocket for the same.
Package installation requires sudo privileges.
To install the VAS Portal packages, run the following command:
$ sudo mcutils install vas-portal --version vX.X.X
or
$ sudo mcutils install vas-portal
Once the user hits the above command, there will be few prompts in the installation process as mentioned below:
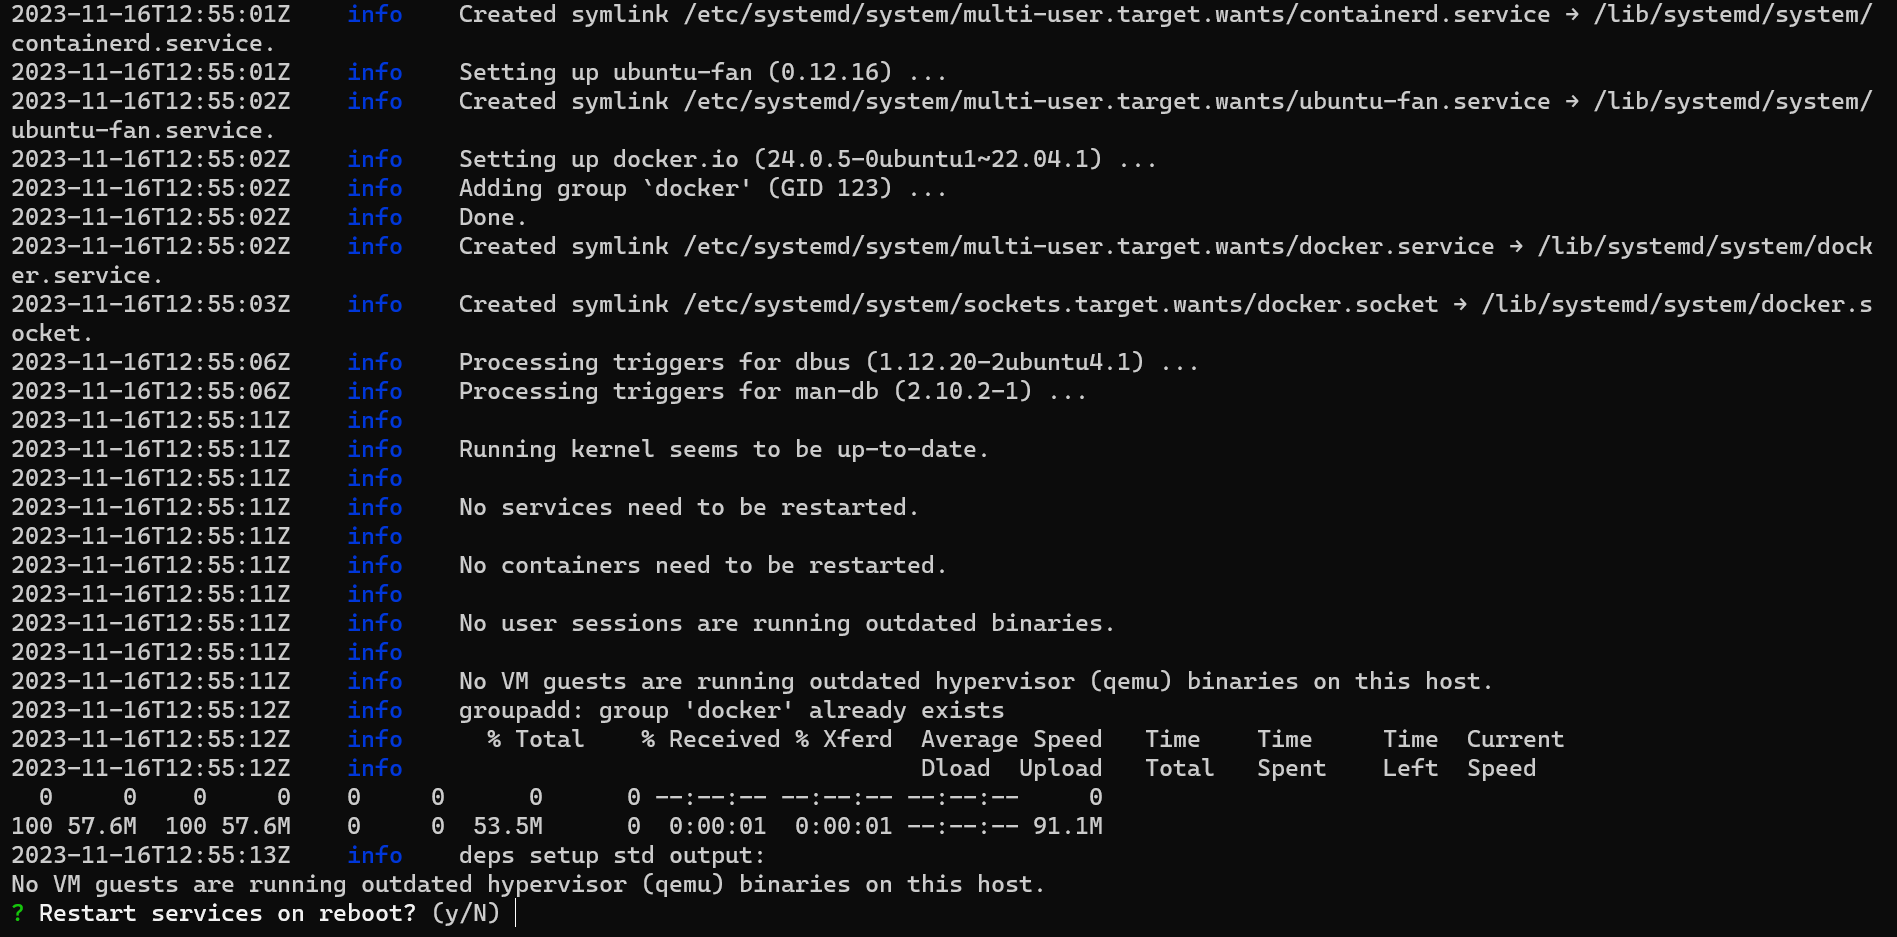
When prompted, enter 'y' to enable Portal to recover itself on reboot or 'N' to not.
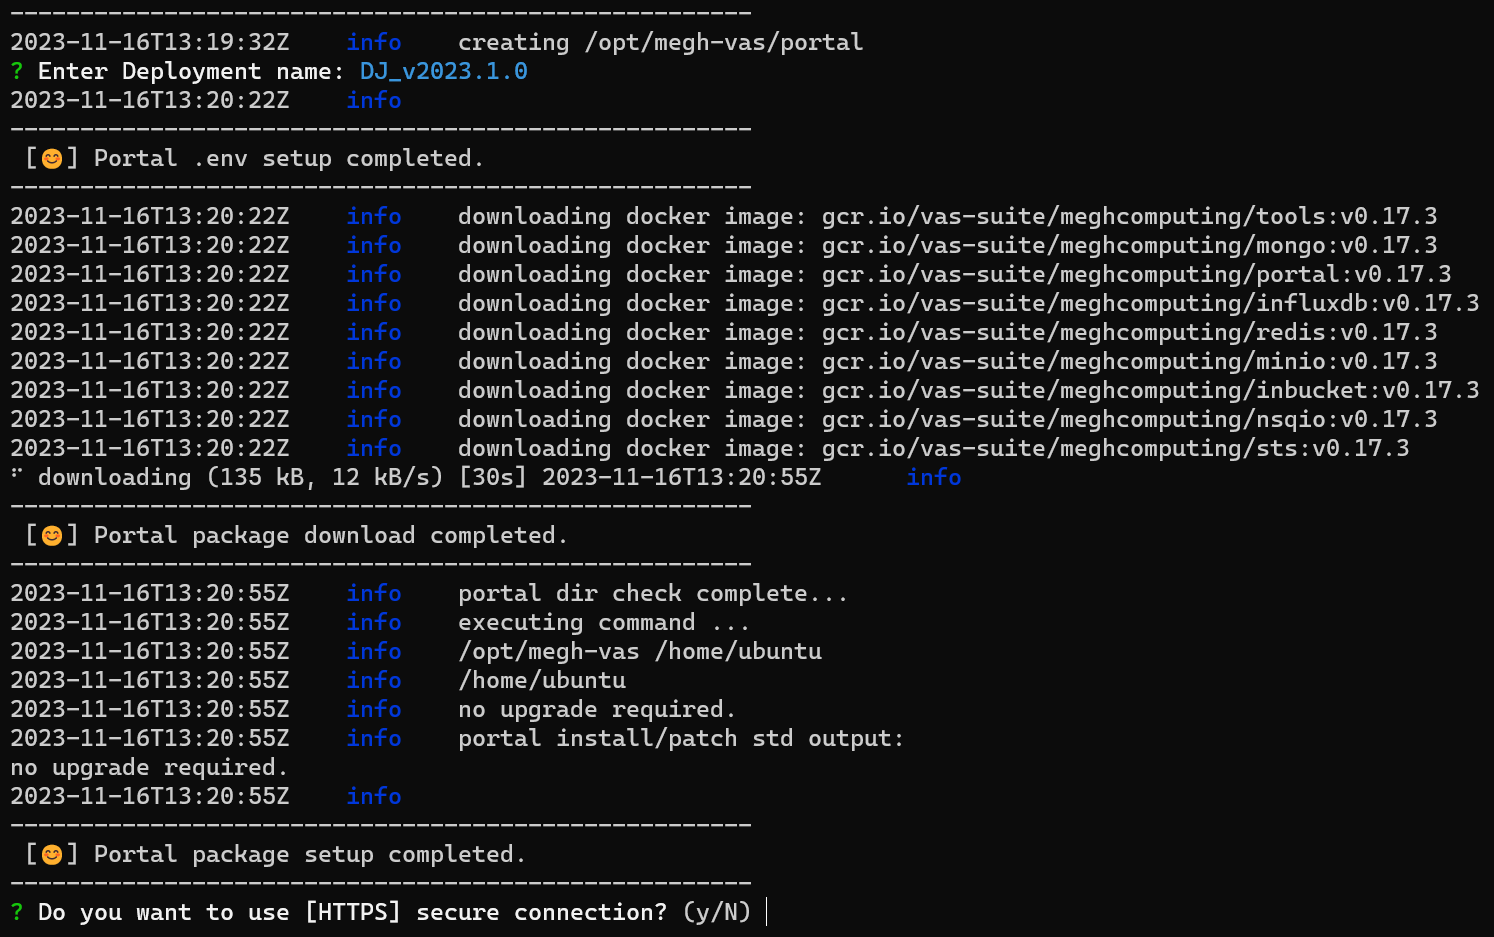
Enter 'y' to enable or 'N' to disable HTTPS connections. When user enables HTTPS connections installer will prompt for DNS name(Public IPv4 DNS) otherwise it will go ahead with below prompt.
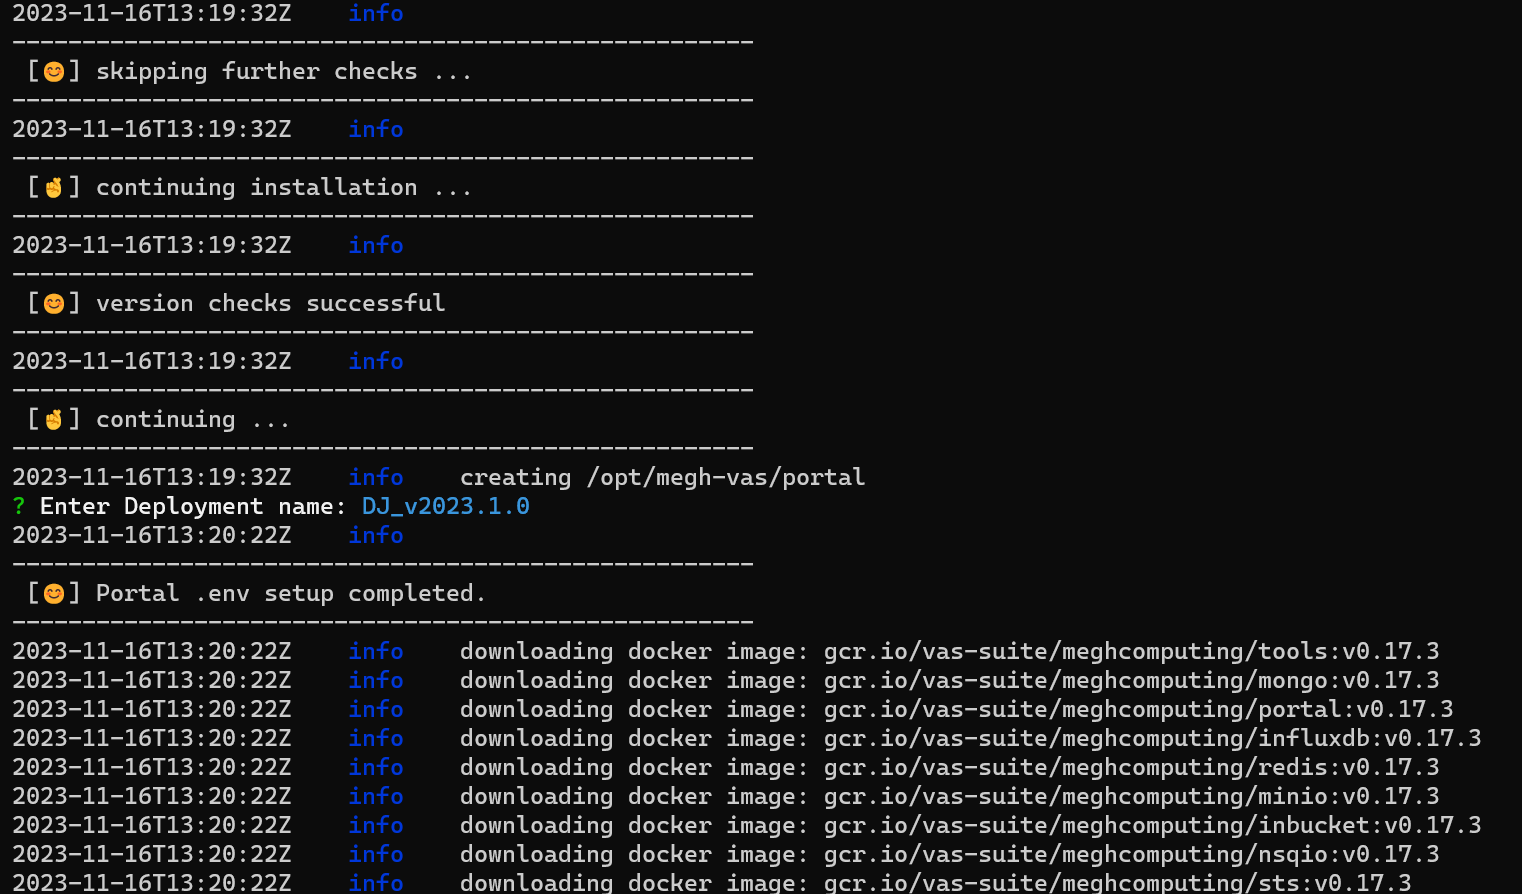
Here user is asked to enter a deployment name for vas-portal which is being installed. This deployment name will be taken as the instance name of the current portal, users can access this portal using the same name on mobile application.
Once the installation is completed, change directory to /opt/megh-vas/portal.
$ cd /opt/megh-vas/portal
Run the following command to bring up all the dockers:
$ docker-compose up -d
Upgrading from previous vas-portal installation
If user has a vas-portal installation already and need to upgrade that installation to latest version, enter the following command in the command-line:
$ sudo mcutils update vas-portal --version vX.X.X
Here vX.X.X is the latest version name which user wants to install.
This command is supported for upgrading from vas-portal 0.17.0 or higher versions only.
Uninstalling Megh Packages
Uninstalling VAS Portal
Uninstalling this package will also remove the configuration packages, but it will not remove the data files if you opted out.
To uninstall the VAS Portal packages, run the following command:
$ sudo mcutils uninstall vas-portal
Uninstalling VAS Nimble
Uninstalling this package will also remove the configuration packages.
To uninstall the VAS Nimble packages, run the following command:
$ sudo mcutils uninstall vas-nimble
Uninstalling VAS Node
Uninstalling this package will uninstall the desktop services and the /opt/megh-vas/config.yaml file. It will not remove any ZeroTier configuration.
To uninstall the VAS Node packages, run the following command:
$ sudo mcutils uninstall vas-node
Configuring HTTPS to secure connection to Portal
Make sure all the VAS Suite containers are up and running
Copy the default nginx.conf from the Portal docker container to the current directory.
Create certificate using the certbot tool. Instructions can be found on the following
link.After HTTPS certificate is generated, link the certificate to the nginx configuration by updating the
portal/nginx.confand by volume linking the certificate files and the config files the Portal can be accessed securely over thehttps://<IP> link. uncomment this under the Portal section in the docker-compose.yaml file.
volumes:
 - ${PWD}/portal/certificates:/etc/nginx/certificates
 - ${PWD}/portal/nginx.conf:/etc/nginx/conf.d/default.conf