Configurations
This section shows all the Nimble configurations deployed by the users. This section also allows SuperAdmins and SuperViewers to watch the performance metrics of Nimble service deployed and linked to current customer.
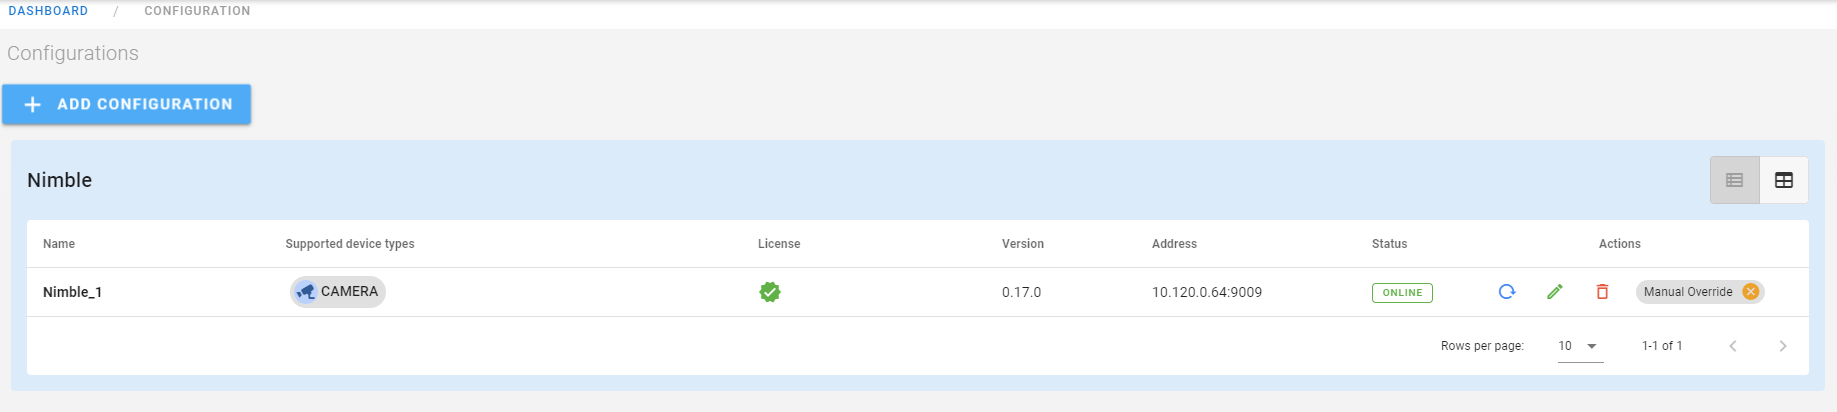
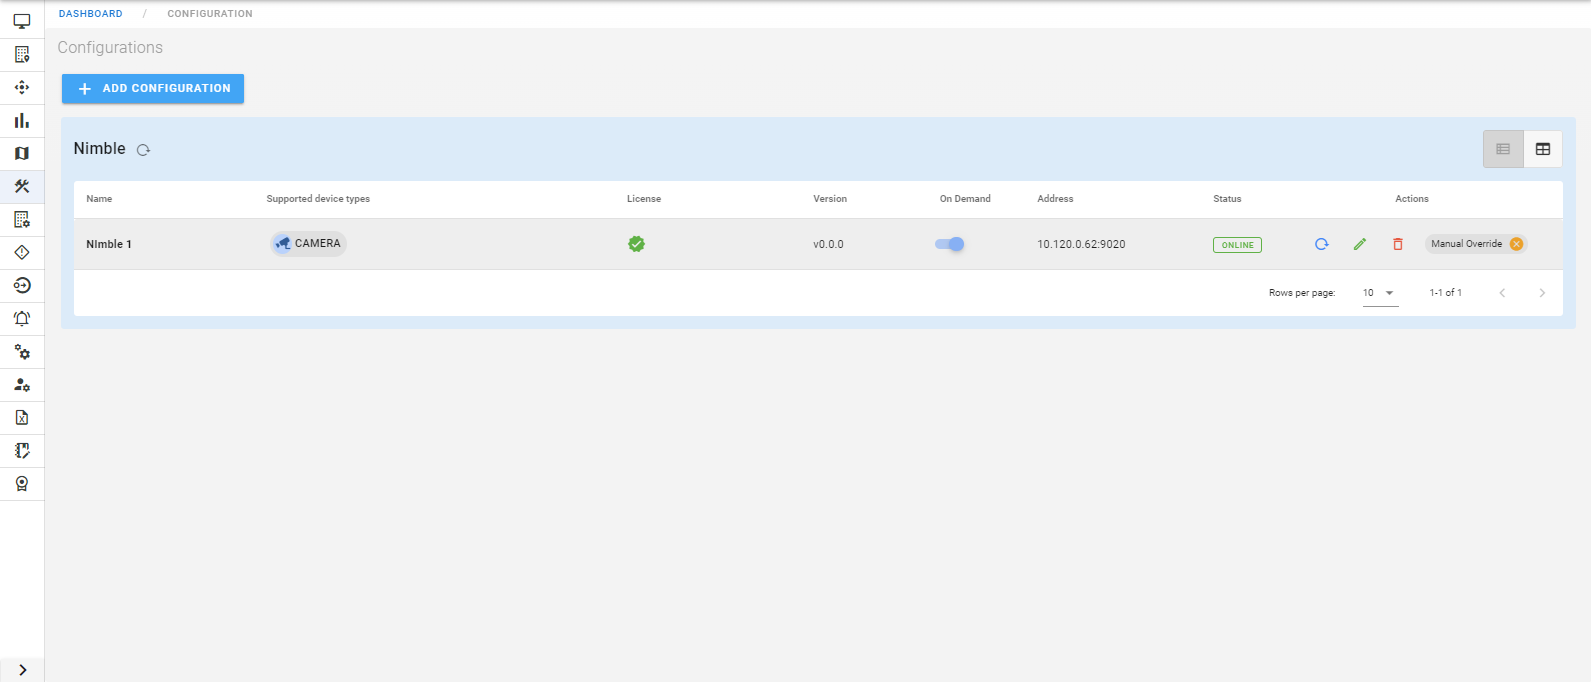
It displays Nimble configuration details like Nimble name, supported device types, License enabled/disabled, version, on-demand option, address, status, catalog refresh, actions.
There is a Nimble refresh button provided beside the Nimble text on the table header. This is used to refresh the Nimble status i.e., Online/offline to reflect accordingly in the status section of the table.
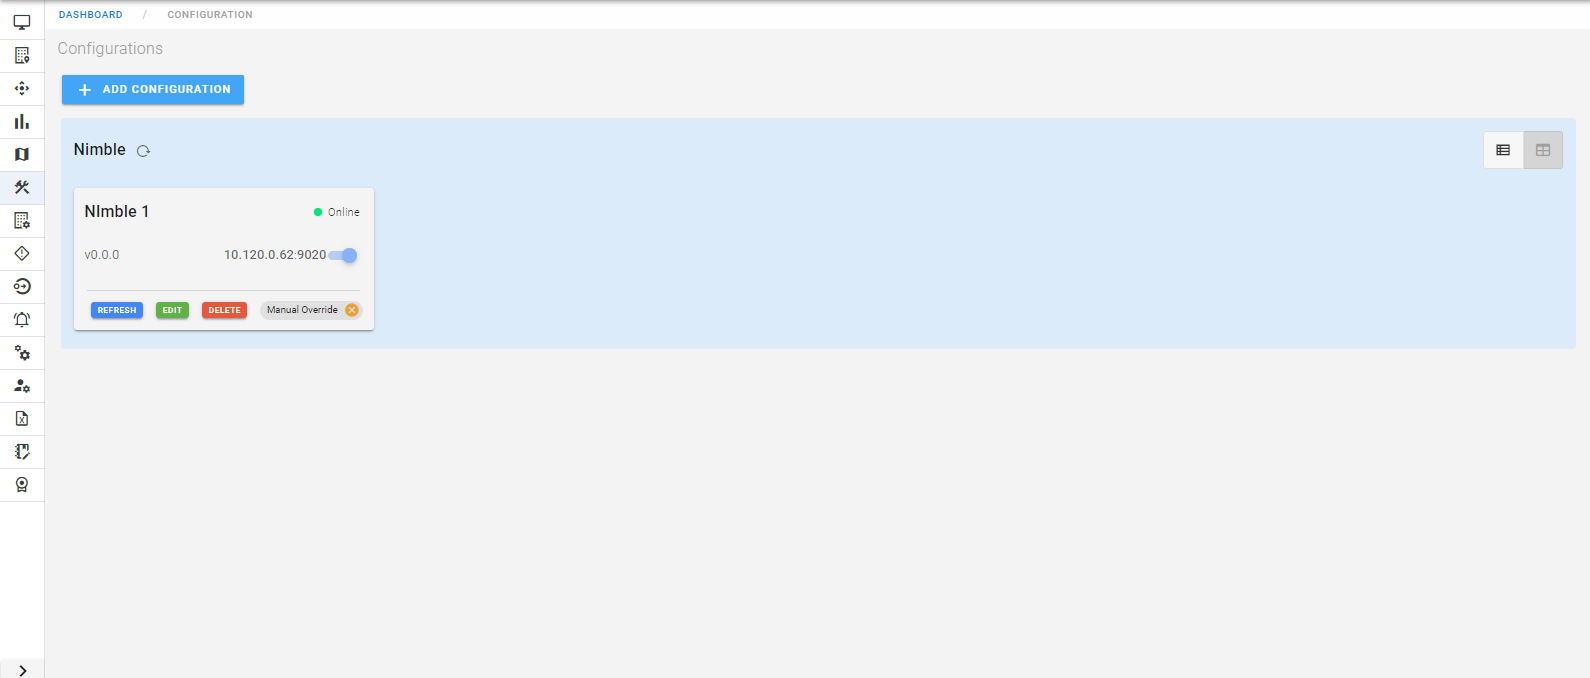
The Nimble configuration can be viewed in two ways. One is the table view which is shown in the above image which displays all details in tabular format. Another view is card view which is shown in the below image.
 The user can add the new Nimble configuration by clicking on the Add Configuration button which opens up the following form.
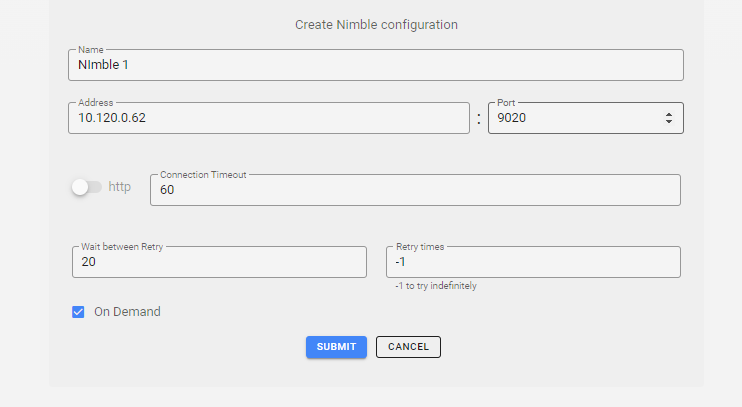
Here the user must fill the Name, address, port of the Nimble to be added, on demand option can be enabled/disabled as per user requirement. To know more about On demand option click on below link.
By checking the
on-demand checkbox, the user opts to turn on theon-demand feature. On demand feature when turned on reduces theInternet bandwidth requirement for edge to cloud deployments. Foredge only deployments, it's recommended to turn off the on-demand feature by unchecking this checkbox.On demand feature is supported by Nimble versions >= 0.17.3. If using earlier version of Nimble, the on-demand checkbox status in the Nimble configuration page is ignored, and the on-demand feature will stay turned off.
On submit of this form, the below popup appears.
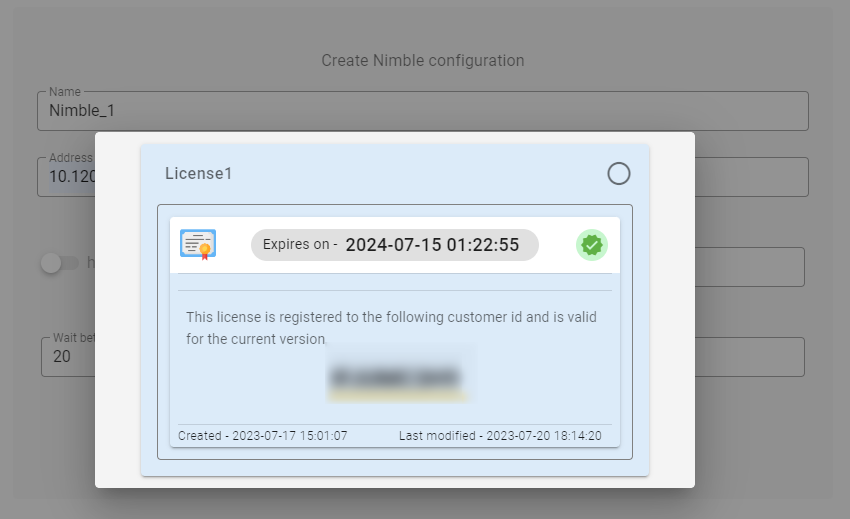
The above popup lists the licenses added in the license section. Here user must select the license they want to attach to the nimble and new nimble instance will be added.
In the configuration page we can see Nimble instance attached. The user can click on this card if in card view or click on the nimble instance row if in the table view, it opens up Nimble configuration details as shown in the below image.
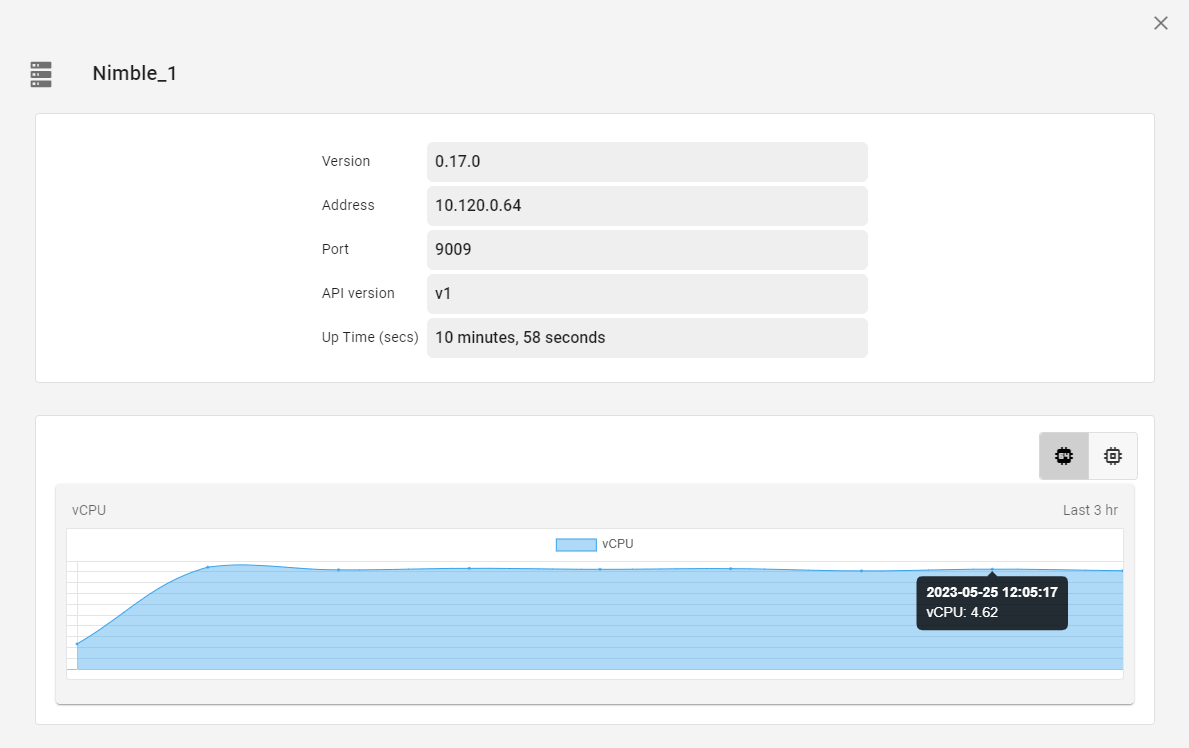
It displays Nimble configuration details like version, address, port, API version, Nimble uptime.
The graph window has two icons in the top right corner, one to show the cpu and other to show memory utilization of the Nimble.
The above image shows the cpu utilization represented in the form of graph for selected Nimble configuration.
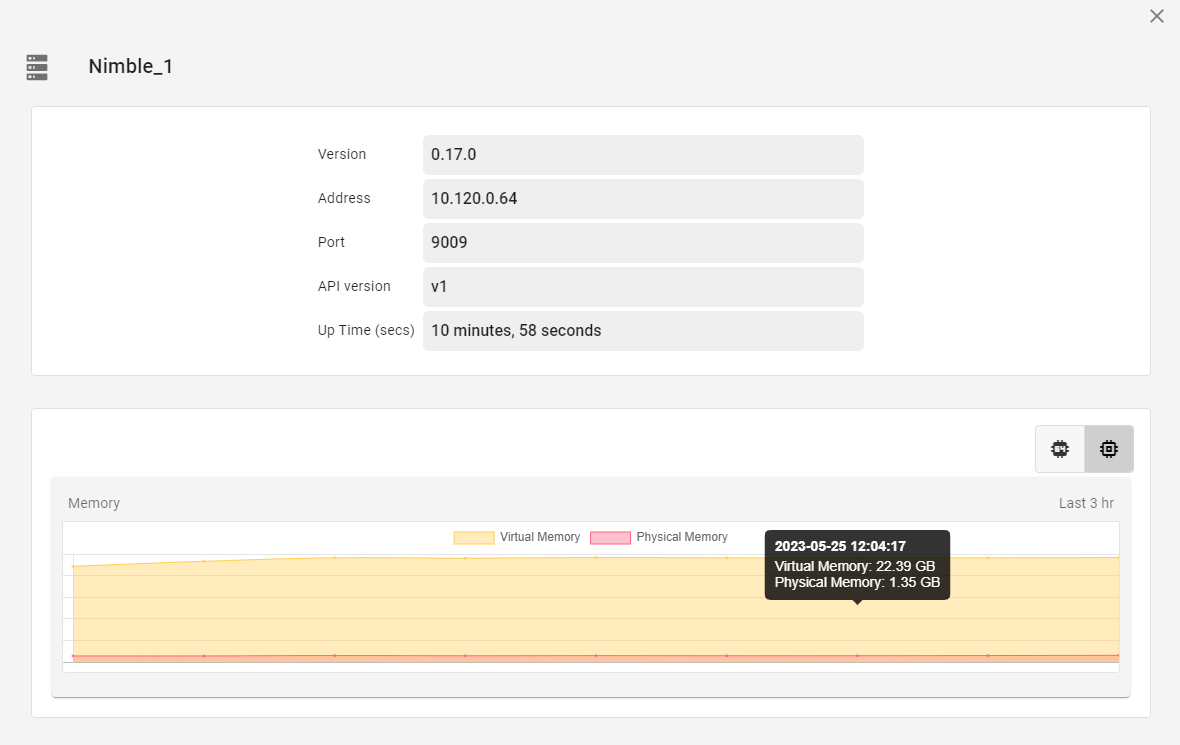
The below image shows the memory utilization represented in the form of graph for selected Nimble configuration. This shows both virtual memory and physical memory utilization of the configured Nimble.
The user also have the provision of editing the nimble configuration by clicking on the pen icon on the right in the configuration page which opens up an edit nimble configuration page as shown below.
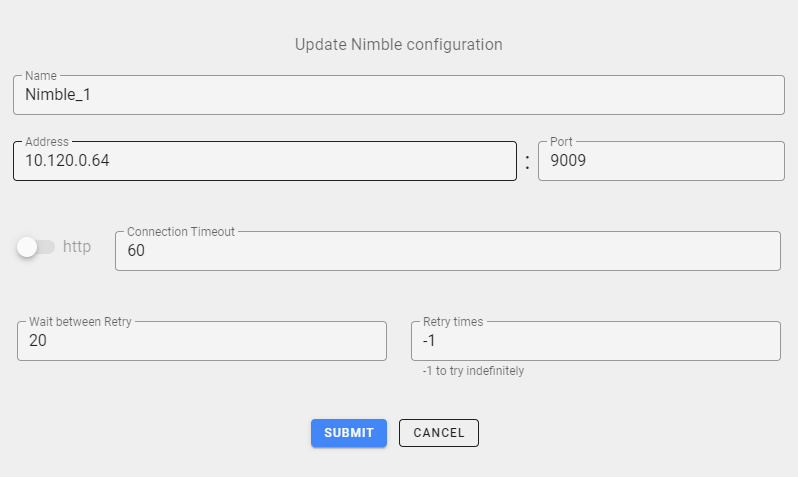
Here the user can edit the name, connection timeout, retry fields and user can also update the license if required and update the nimble configuration. The Nimble address and the port field will be disabled and can be edited only when Manual override option is enabled.
The user can click on the Catalog refresh button beside the status column which retrieves the pipeline and models that are available for configuration and refresh the nimble catalog.
The Nimble instance can be deleted by using the bin icon.
Manual Override Option
The user can click on manual override option on the right side when the user wants to perform any Nimble configuration updates specially with respect to Nimble address and port and also can be used to update device camera URL(i.e. Video source address). This option stops/halts all the Nimble transactions so that the user can make configuration changes to Nimble. This option is shown with a cross-mark by default to show that manual override option is in disabled mode. When the user clicks on this option it opens up a warning message and dialog box as shown below.
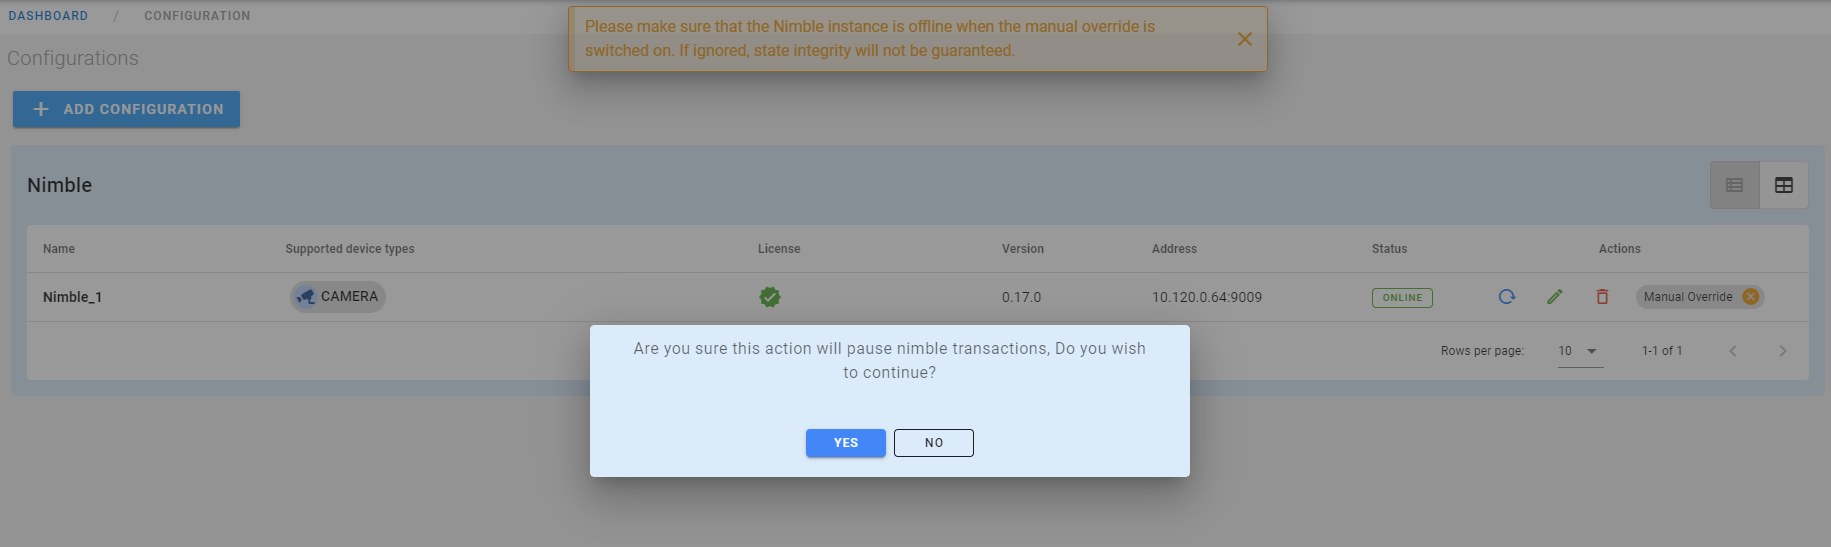
The warning dialog box in orange color guides the user to bring down the Nimble docker container(Note: User can just restart the nimble) once they enable the manual override option. Once read the user can close this warning dialog box and click on yes in the blue dialog box to enable manual override. This shows Nimble configurations updated message on the UI. Then user can see that Manual override icon is enabled and shown with green tick as shown below.
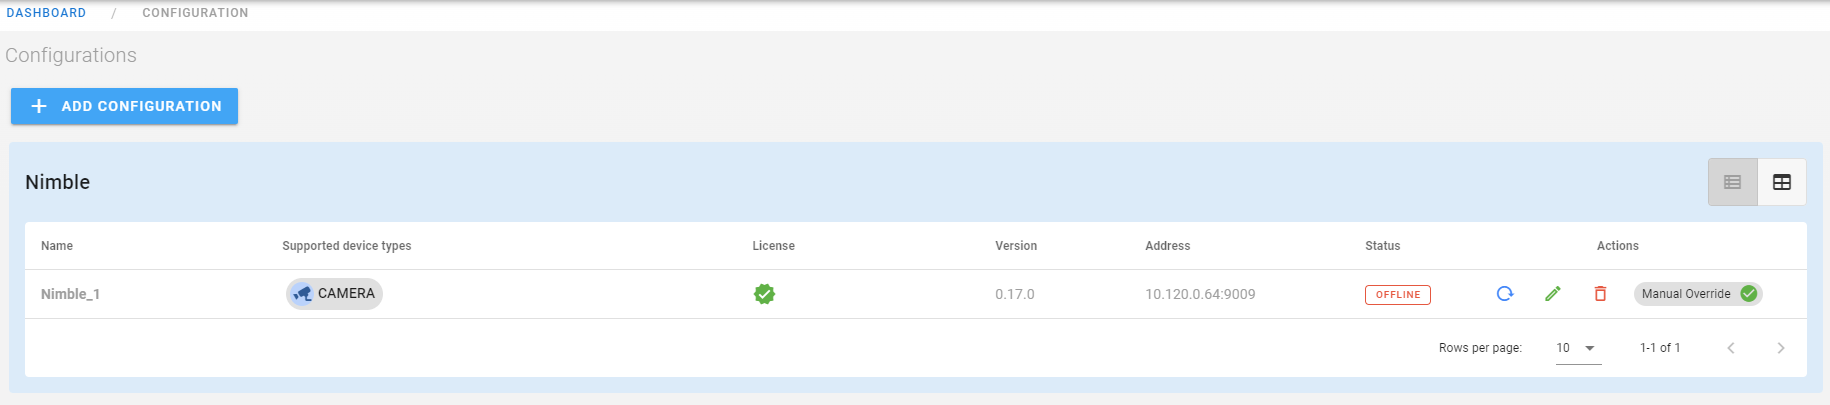 Once the Manual override is enabled, the user should restart the nimble.
It is mandatory to restart the nimble container once the manual override is enabled, otherwise the state integrity will not be guaranteed.
Then the user can go ahead and edit the Nimble configurations or update the device camera URL feed, here in the above images we can see that the Nimble address:10.120.0.62 and port:9009, this is updated to address:10.120.0.64 and port:6344. Once the user is done with Configuration updates, they can stop the manual override by clicking on the same icon. This opens up a dialog box asking the user to resume Nimble transactions as shown below.
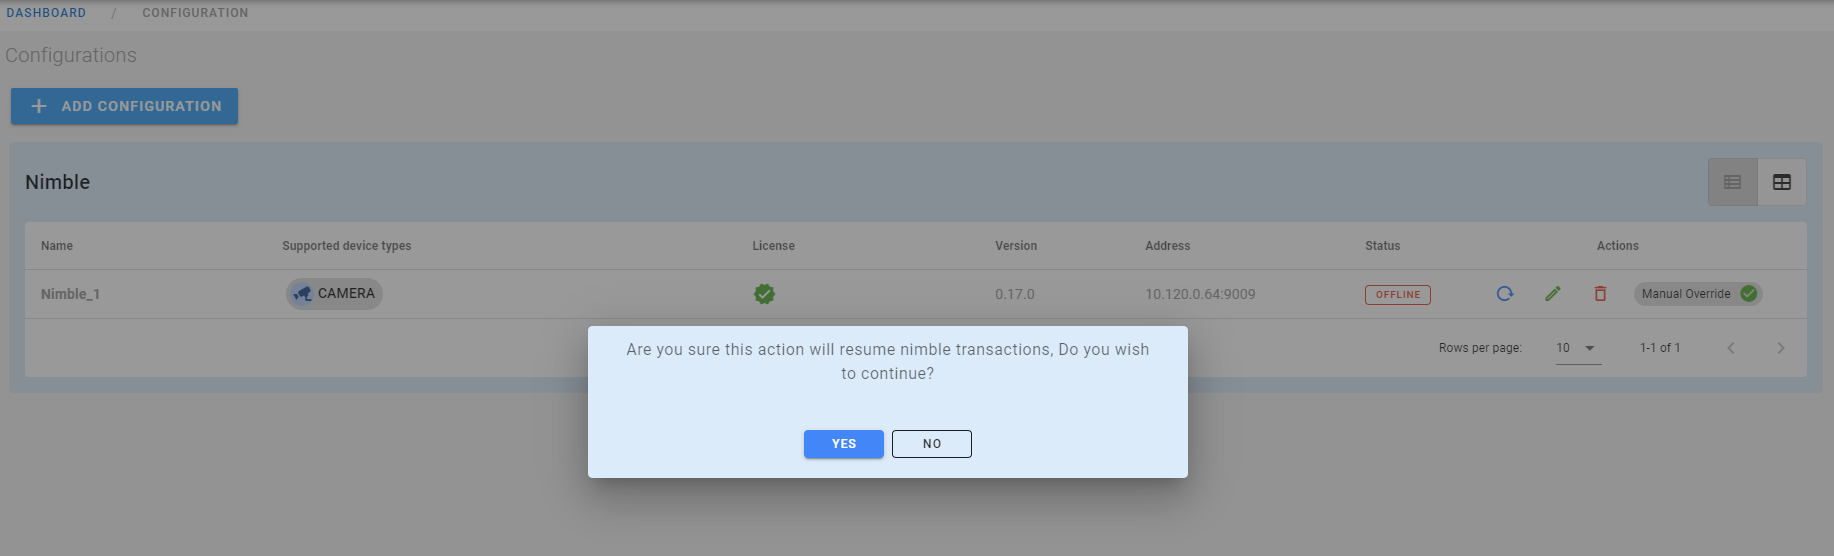
The user can click on yes and the manual override process is disabled. All Nimble transactions are resumed back again. User can see Nimble back to online mode once he/she clicks on the refresh button beside Nimble in the configuration table. User can see the Nimble address and ports updated as shown below.